How to setup XR Recorder
The recorder can be used if and only if it is included as an extra module inside of the project settings. This is already done for the vaccine sample.
Custom Project
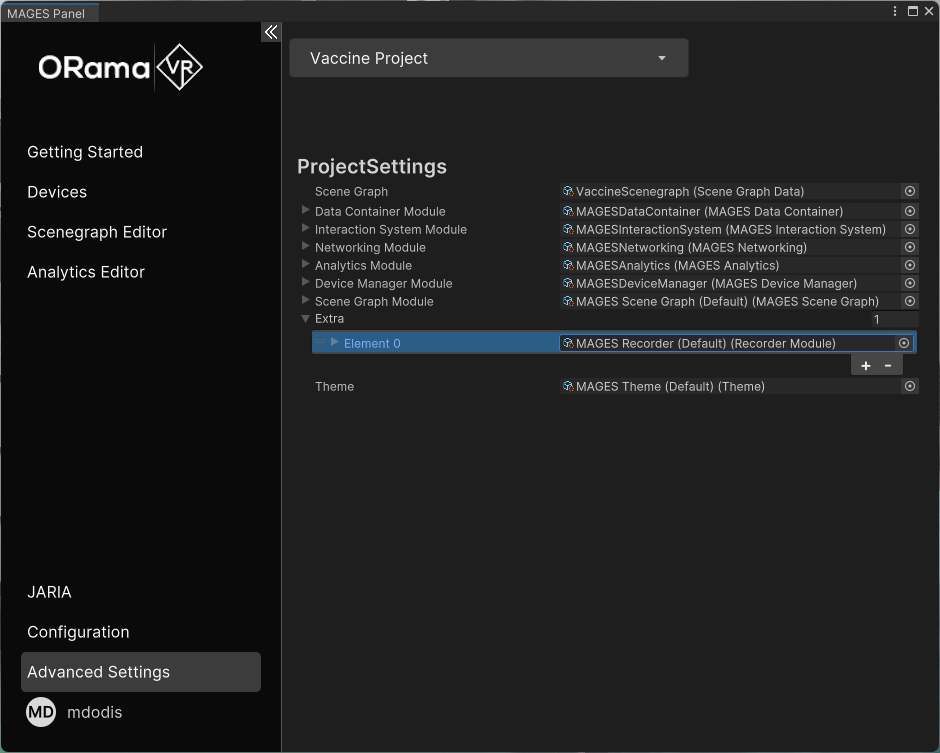
Open the Creator Panel and navigate to the Advanced Settings
In the Extra Modules section, click on the plus button and find the “MAGES Recorder (Default)” module. Make sure to click on the eye icon to show all of available options:
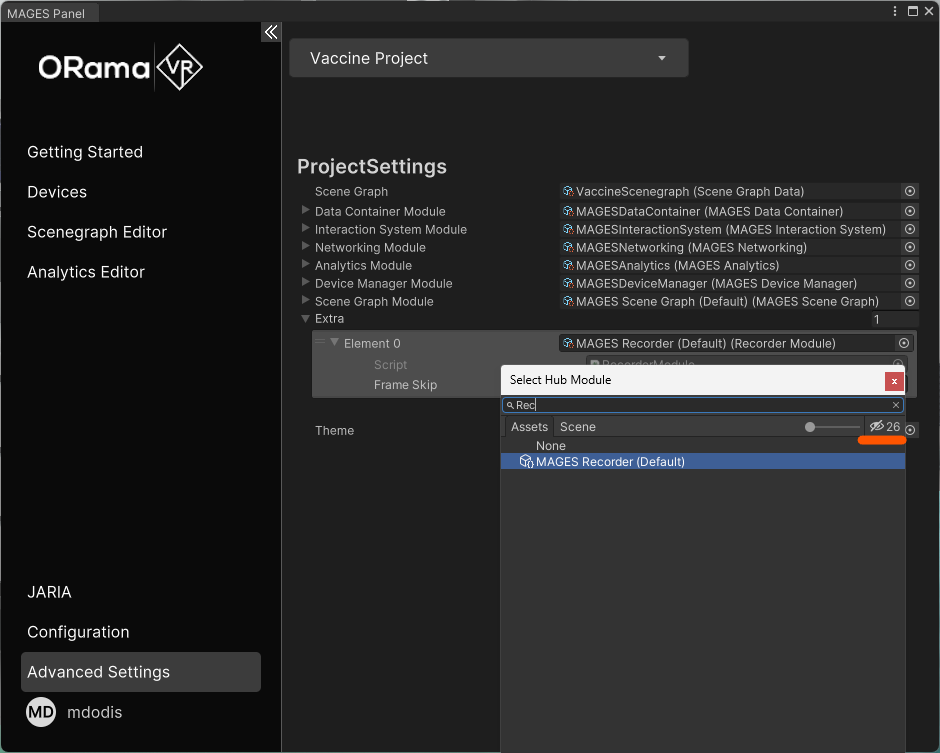
This module includes some default settings for the recorder which are generally good for most projects.
Recording
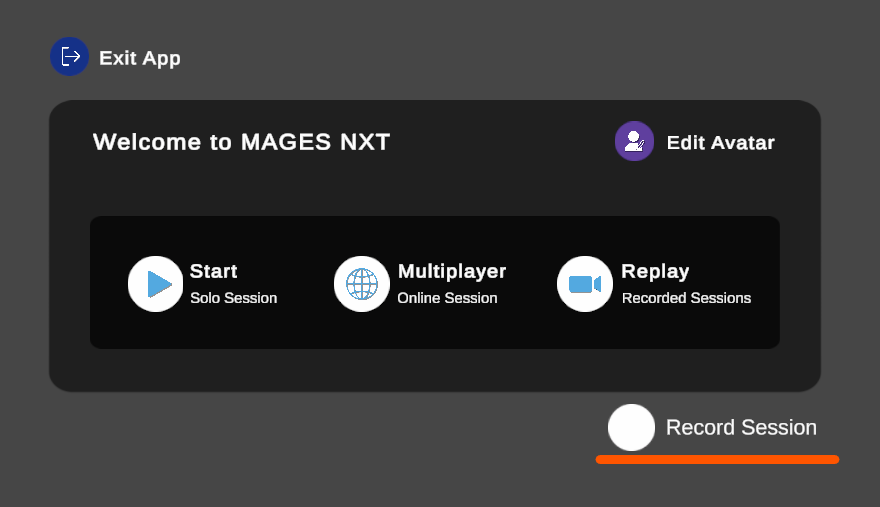
If you are using our provided “Operation Start” prefabs then the only thing left is to check the record field before the operation is started.
Otherwise, the code that is required to arm the recorder is provided below:
Hub.Instance.Get<RecorderModdule>().Armed = true;
Note
Currently, recording is automatically stopped when the user quits the application
Your recording will be saved in a .xrec file in the following directory:
Desktop:
C:Users/USERNAME/AppData/LocalLow/ORamaVR/MAGES_NXTAndroid (Standalone XR headsets):
storage/emulated/USERID/Android/data/PACKAGENAME/files
Playback
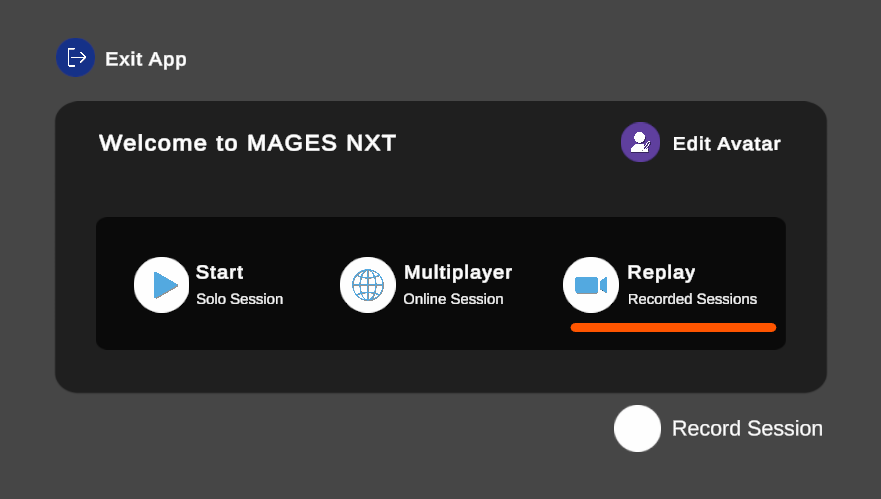
If you are using our provided “Operation Start” prefab, you can see any recording by clicking on the playback button in the application’s main menu.
Otherwise, the code that is required to enter playback mode is provided below:
Hub.Instance.Get<RecorderModule>().PlayRecording("path/to/your/recording.xrec");
Then, select the recording you want and click “Replay”:
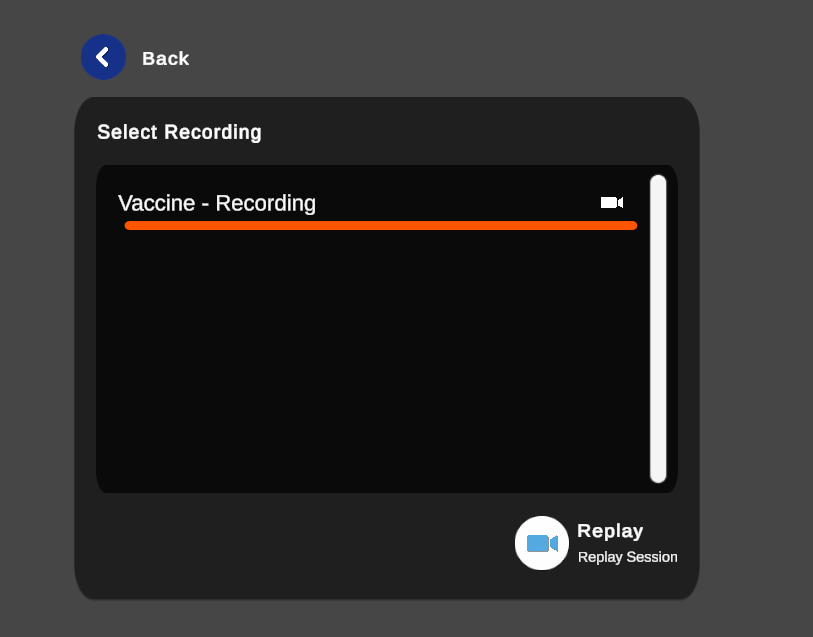
Playback should commence immediately: