Localization
The localization module lets you add multiple languages to your Creator applications.
Note
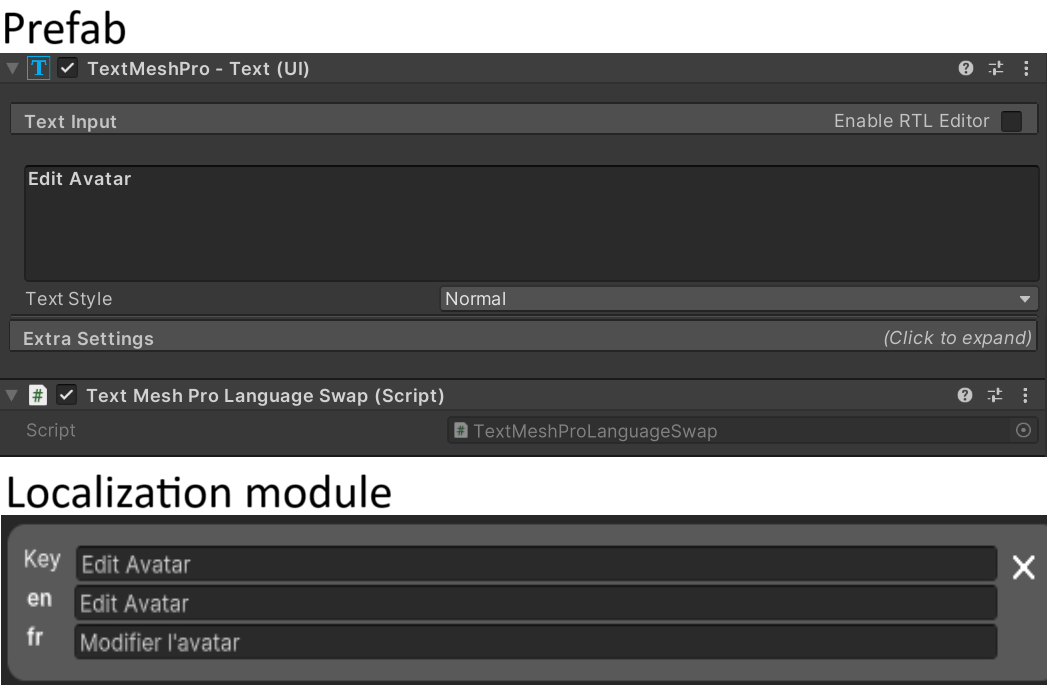
Our localization system is based on the TextMeshPro - Text(UI) component. In order to “translate” a text you need to add the TextMeshProLanguageSwap component where the TextMeshPro - Text(UI) is located.
Then, you setup a key for the corresponding text field. You write this key directly to the TextMeshPro - Text(UI) component. Add your default language text as the key.
Finally, you need configure the possible translations for this key in the Localization module.
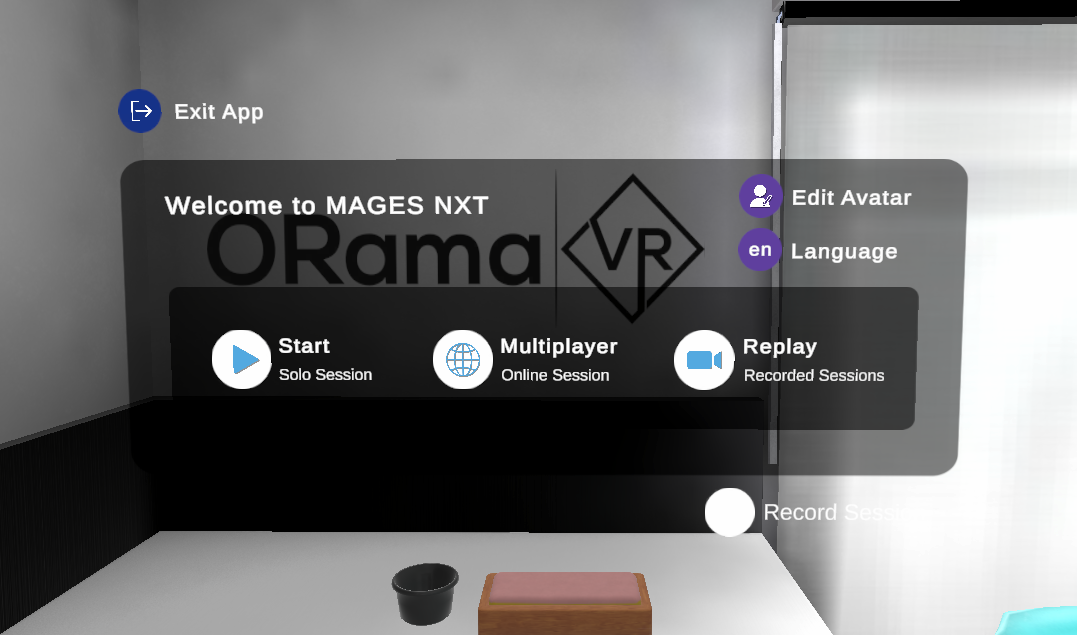
From the Operation Start menu you can cycle thought the languages by pressing the Language button.
In this tutorial, we will setup this functionality.
Module creation
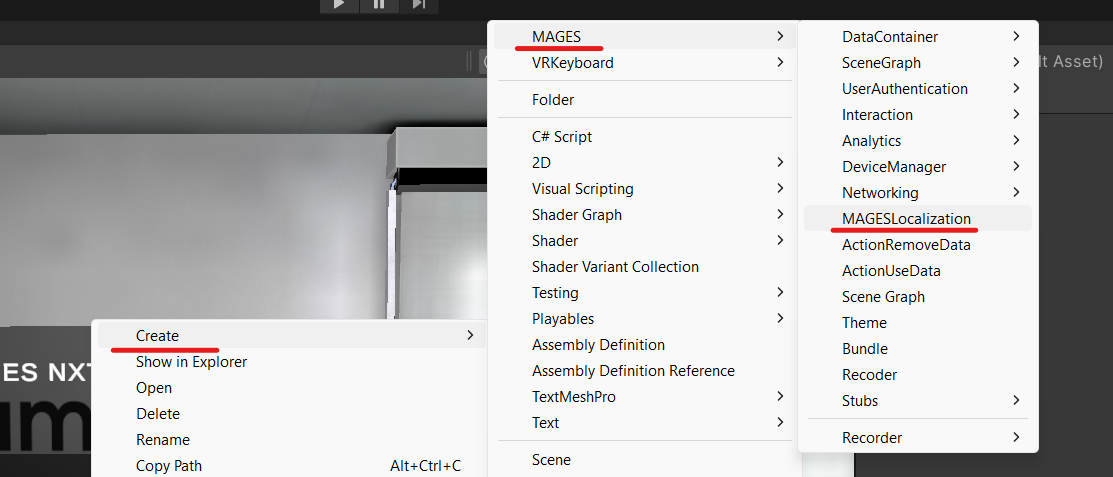
Create a new localization module.
Right click on the project panel in an empty space.
Click Create - MAGES - MAGESLocalization
Bundle setup
Add the localization module to your scenes’ bundle.
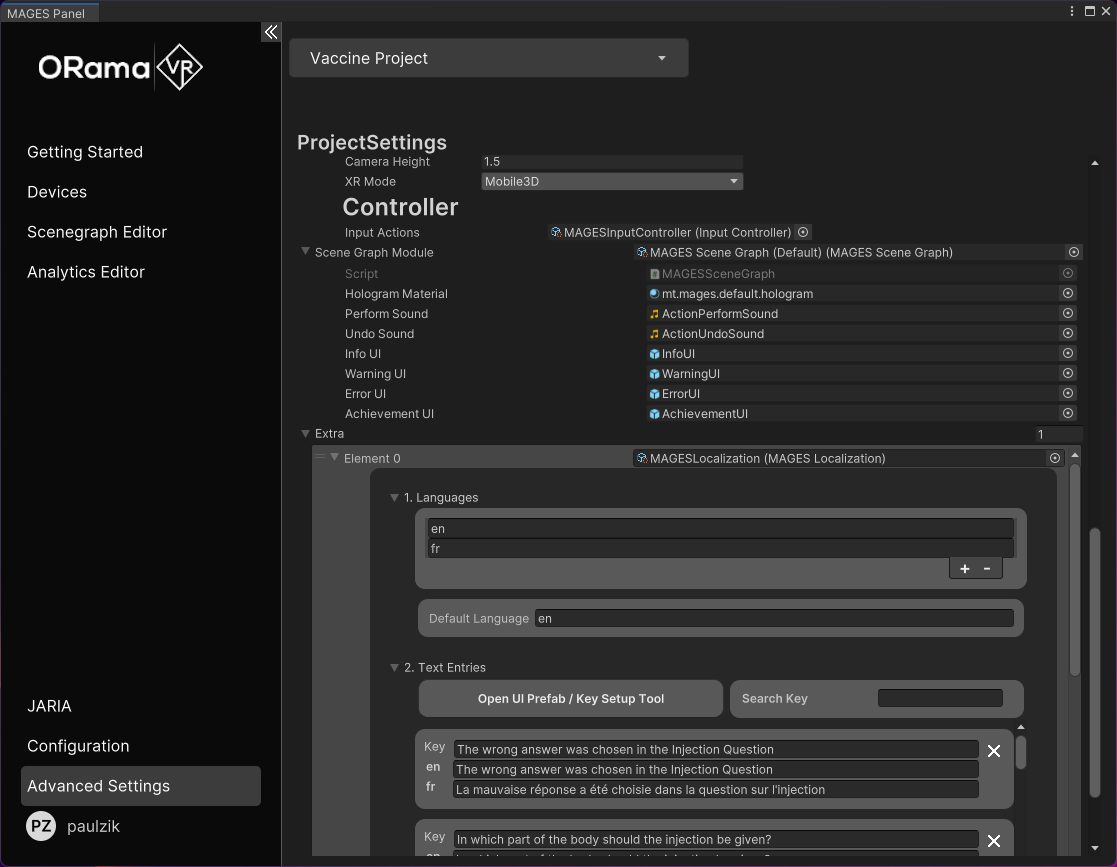
Open the Creator Panel and navigate to the Advanced Settings.
Navigate to the Extra modules at the end of the list and click the + button.
Drag and drop the module you created to the list.
You can double click the .asset file of your module to open it in a standalone inspector for easier access.
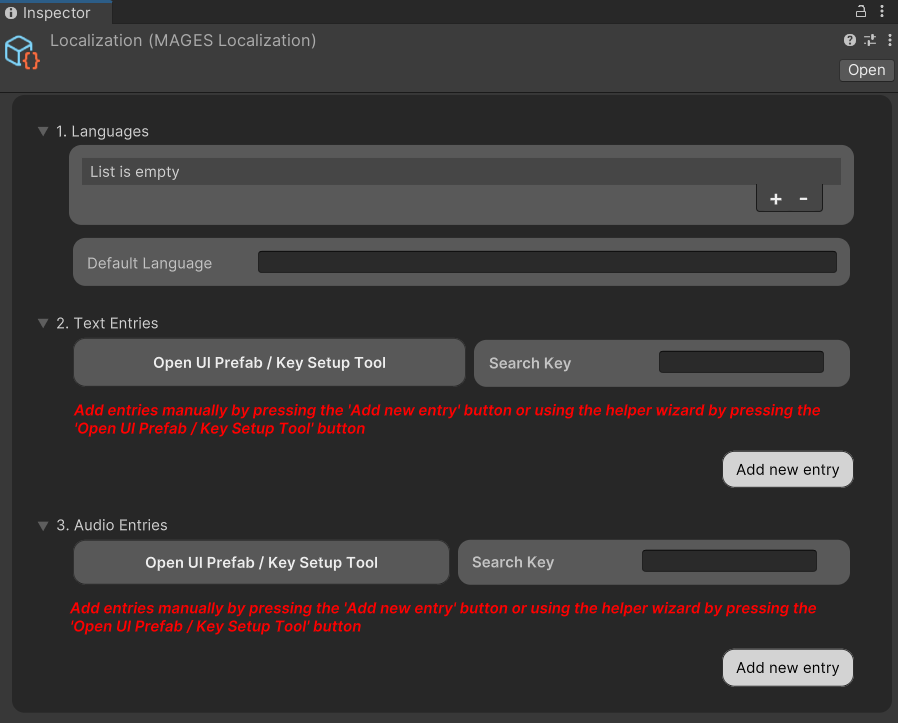
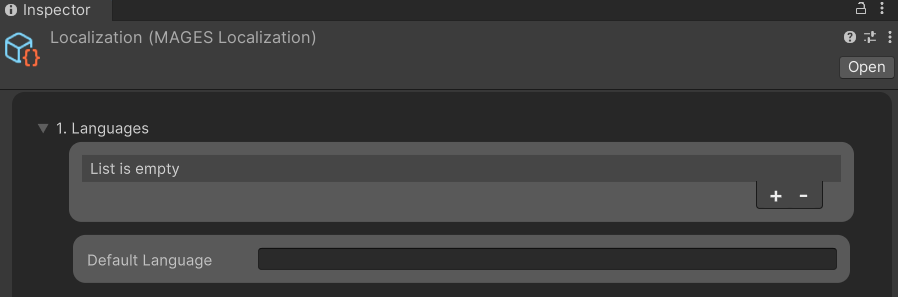
Languages setup
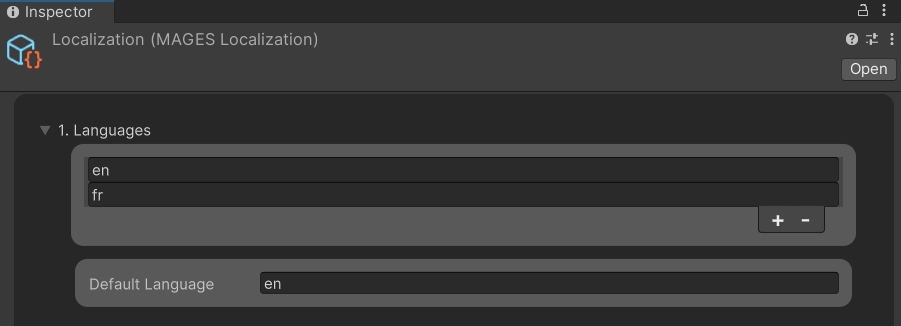
Add the languages you want to support in the languages list.
In our case we want to support english and french. So we add ‘en’ for english and ‘fr’ for french.
By default, the first language will be set as the default one, in our case its english.
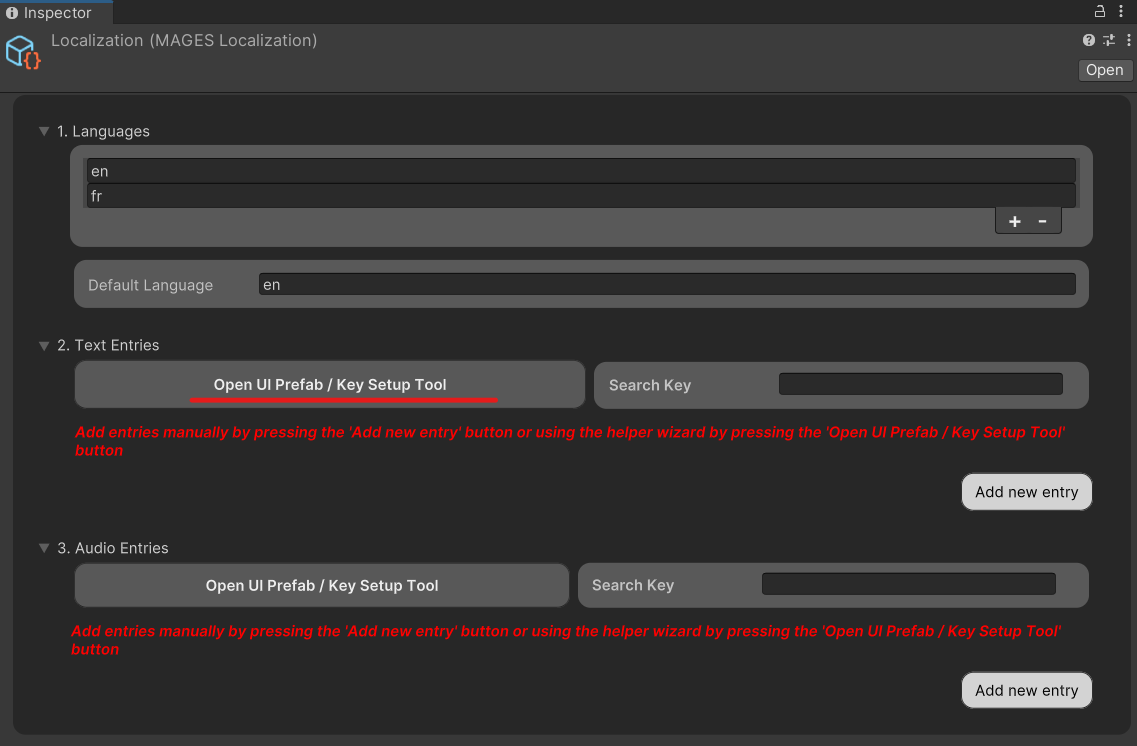
Find all the text fields and add translations
We created an automated tool that traverses your project and adds the TextMeshProLanguageSwap component where needed.
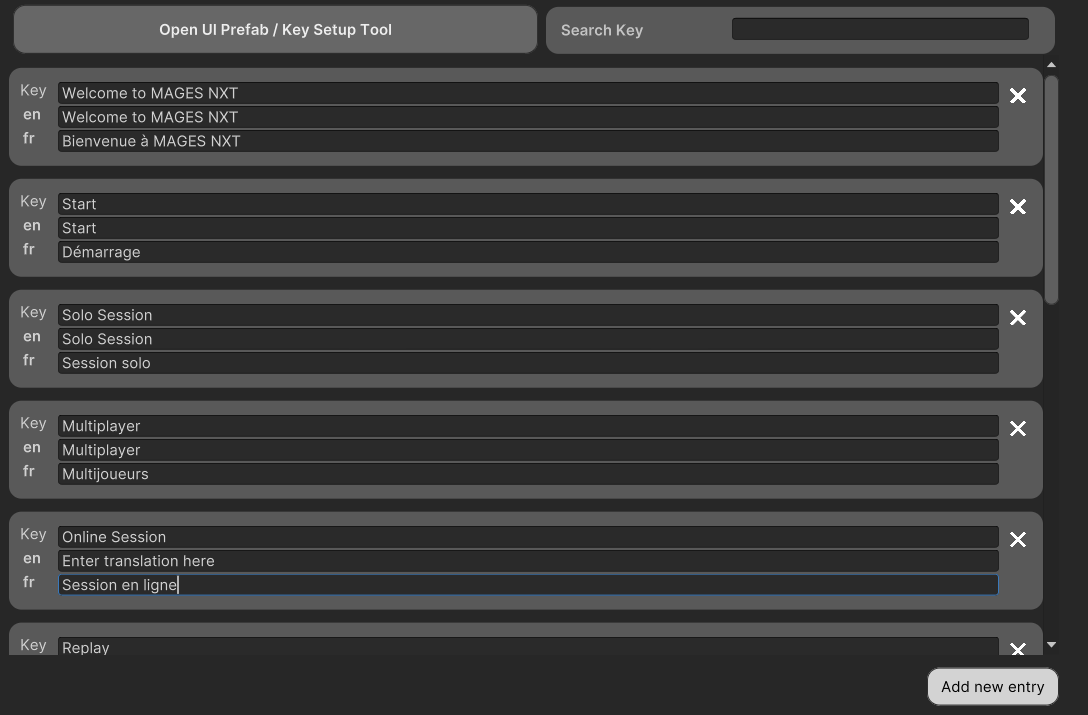
Click on the ‘Open UI Prefab / Key Setup Tool’ button
A new window will open which includes a list with all the prefabs inside the Assets folder that have a TextMeshPro - Text(UI) component.
Press the ‘Add’ button next to a prefab. This will automatically add the
TextMeshProLanguageSwapcomponent to all the children that have aTextMeshPro - Text(UI)component. Also, it will add the text of the TextMeshPro - Text(UI) components as keys in the text entries list to be ready to add the translations.
Type the corresponding translation for each language.
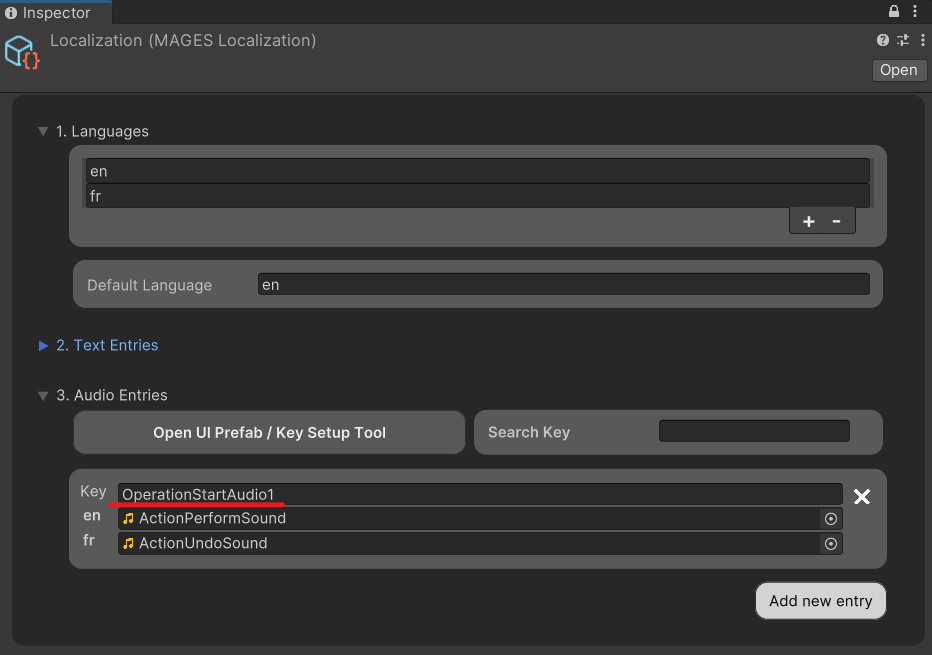
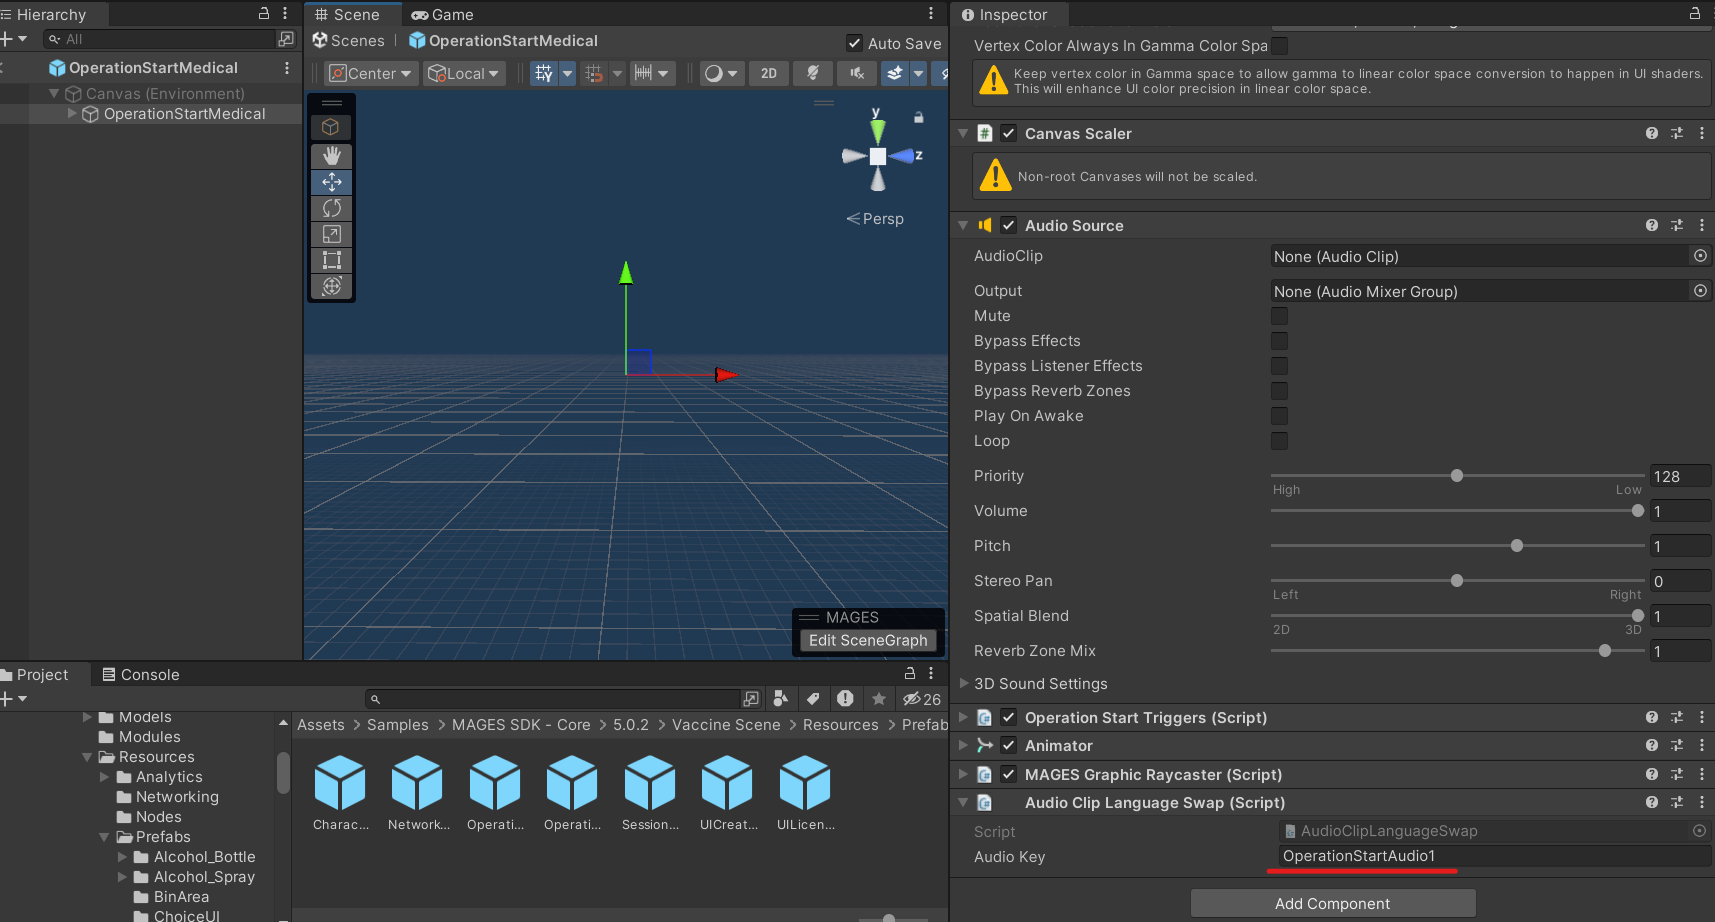
Localization in audio files
The same applies and for Audio Entries the only difference being that as the key we have to type a unique id which is the same in the AudioClipLanguageSwap component field.
Manual setup (optional)
If you don’t want to use the automated tool just do the following steps:
Navigate to the
TextMeshPro - Text(UI)component you want to translate and add theTextMeshProLanguageSwapcomponent.Add a new entry to the localization module.
As a key to this entry add the text that the current text of the
TextMeshPro - Text(UI)component. This is also the default language.Complete the rest of the translations in the localization tool.
How to Change the language at runtime
You can change the currently active language by calling the following line of code Hub.Instance.Get<LocalizationModule>().SetLanguage(language);
Note
The language argument is a string containing the language to set (e.g “eng”).
How to handle runtime changes to text or audio
When you want to change the text of a prefab at runtime but still keep the localization you can do the following:
The new text must be added before starting the application in the text entries along with its translations.
Instead of just setting the text of the component with the new string we must set the text with the translated value based on the language.
We can achieve this by calling
Hub.Instance.Get<LocalizationModule>().ResolveText
private void UpdateText(string newText)
{
    var textComponent = GetComponent<TextMeshProUGUI>();
    textComponent.text = Hub.Instance.Get<LocalizationModule>().ResolveText(newText);
}
Exactly the same concept applies for the audio entries, we can call
Hub.Instance.Get<LocalizationModule>().ResolveAudio