Custom Avatar
In this tutorial we are going to showcase how to use your own custom Avatars in Creator.
Custom Avatar setup
For this tutorial we are going to create two avatar options, a cube and a sphere.
Create an empty game object. In our example we will name it CustomAvatar
Create another empty object as a child of CustomAvatar which will be used for the offset. In our example we will name it CustomAvatarOffset.
Create the cube as a child of CustomAvatarOffset. In our example we will name it as CustomAvatarCube.
Create the sphere as a child of CustomAvatarOffset. In our example we will name it as CustomAvatarSphere.
Scale both the cube and sphere to 0.3 for xyz axis.
Note
Reason for doing this is because if they are too big their colliders will also be too big and you wont be able to move your hands in XR. You could simply turn off your collider or make it smaller so that it wont collide with your hands, this is just the approach that was chosen for this tutorial.
To be able to use it for coop, turn it into a prefab by dragging it into
Assets/Resources.
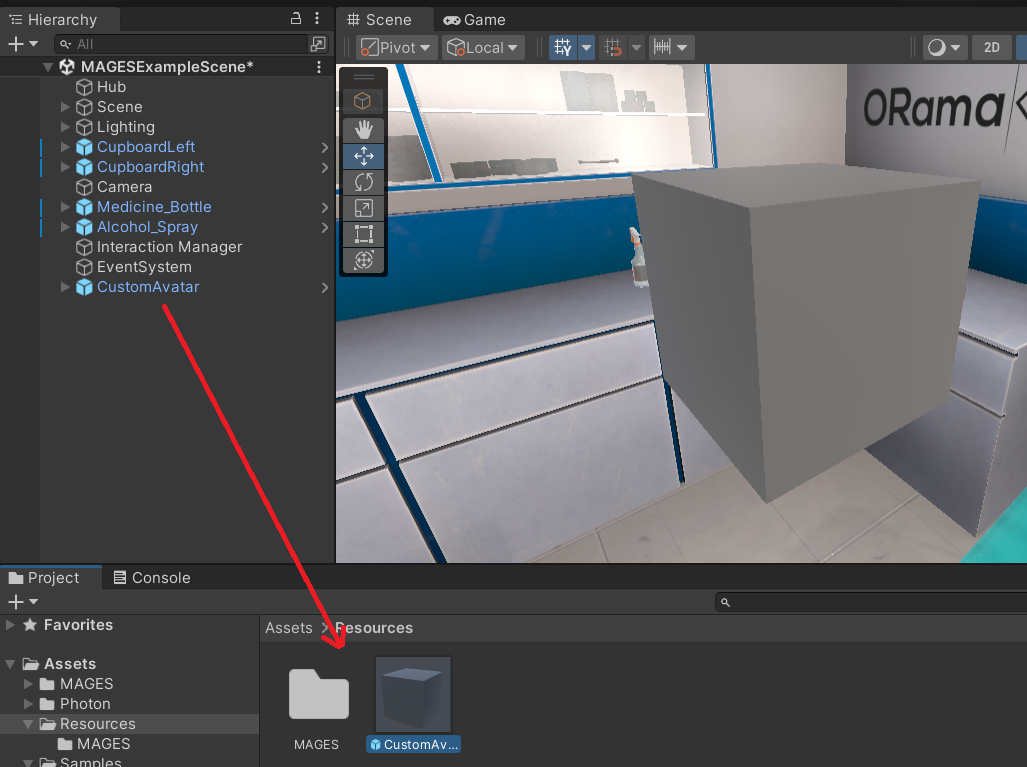
Navigate to
MAGES > Creator Panel > Advanced Settingsand set your new CustomAvatar to the Avatar Prefab in the Interaction System Module.
Your Custom avatar is ready.
Character Selection UI Menu Change
You can also change the character selection Menu, with two steps.
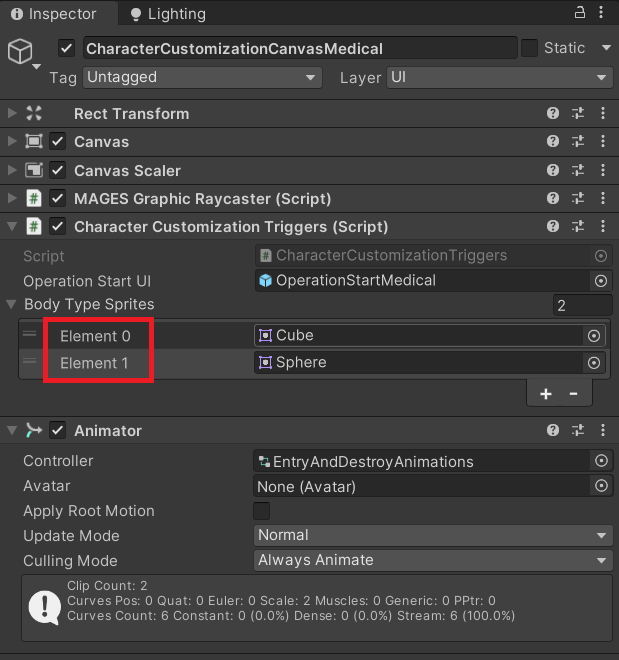
Simply search for the
CharacterCustomizationCanvasMedicalprefab and replace the old pngs with your own. We replaced them with Cube and Sphere.
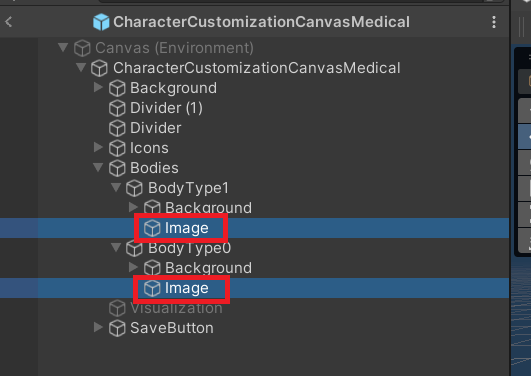
Do the same but this time replace the source image for every image with your own.
Custom Avatar in-game
Lets see your custom Avatar in game.
Important
Its important to keep in mind that the Avatars are visible only when using multiplayer.
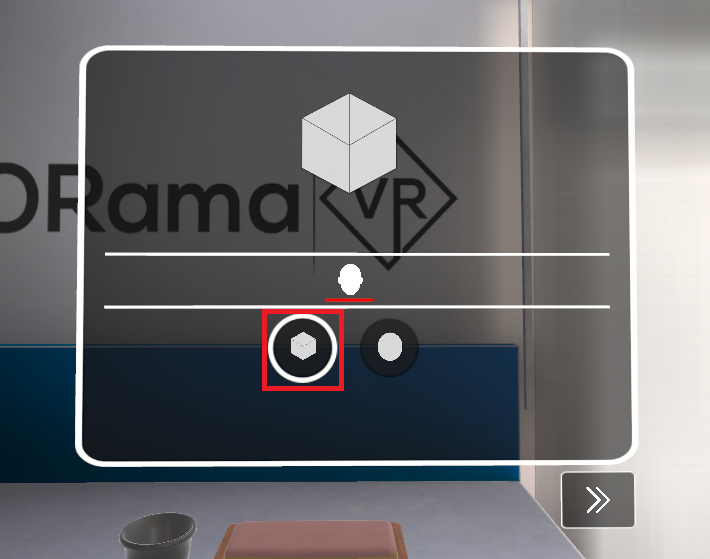
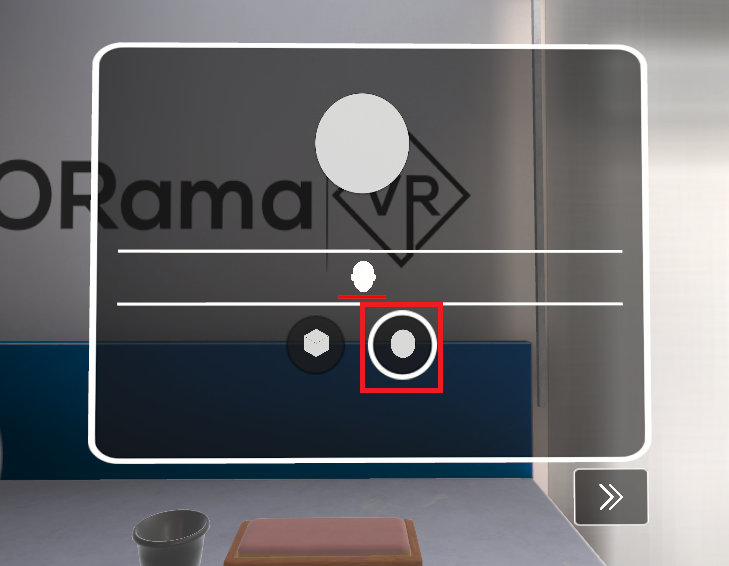
Start the game and click on Edit Avatar.
Player A will pick Cube.
Player B will pick Sphere.
Player A will host the Session and Player B will join.
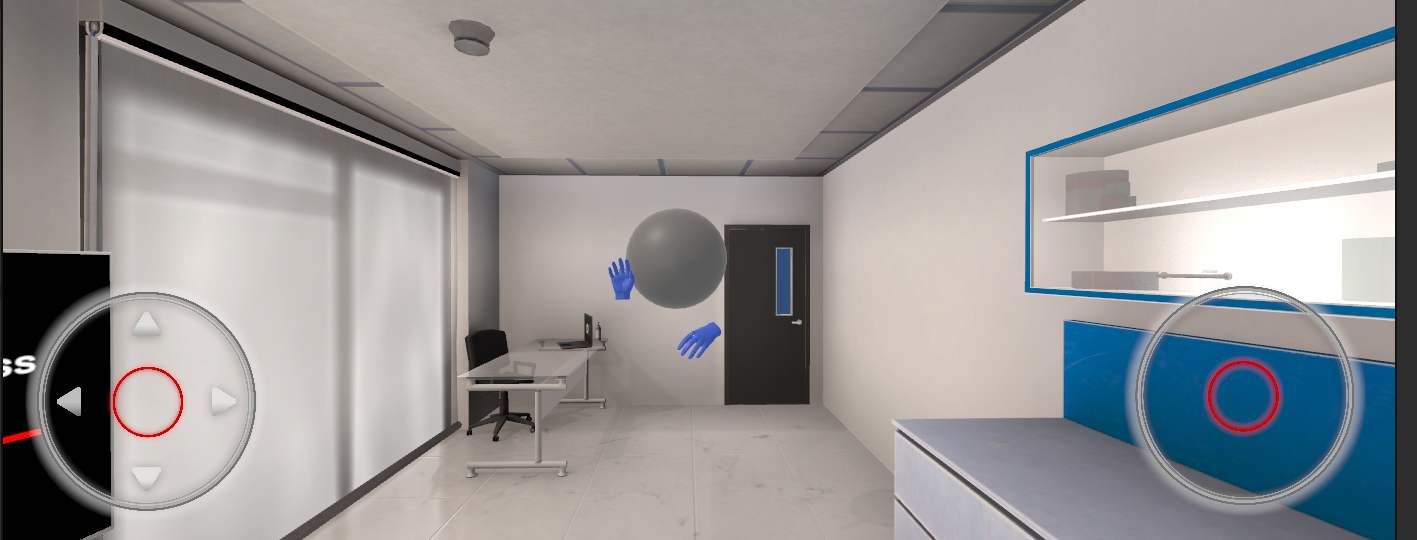
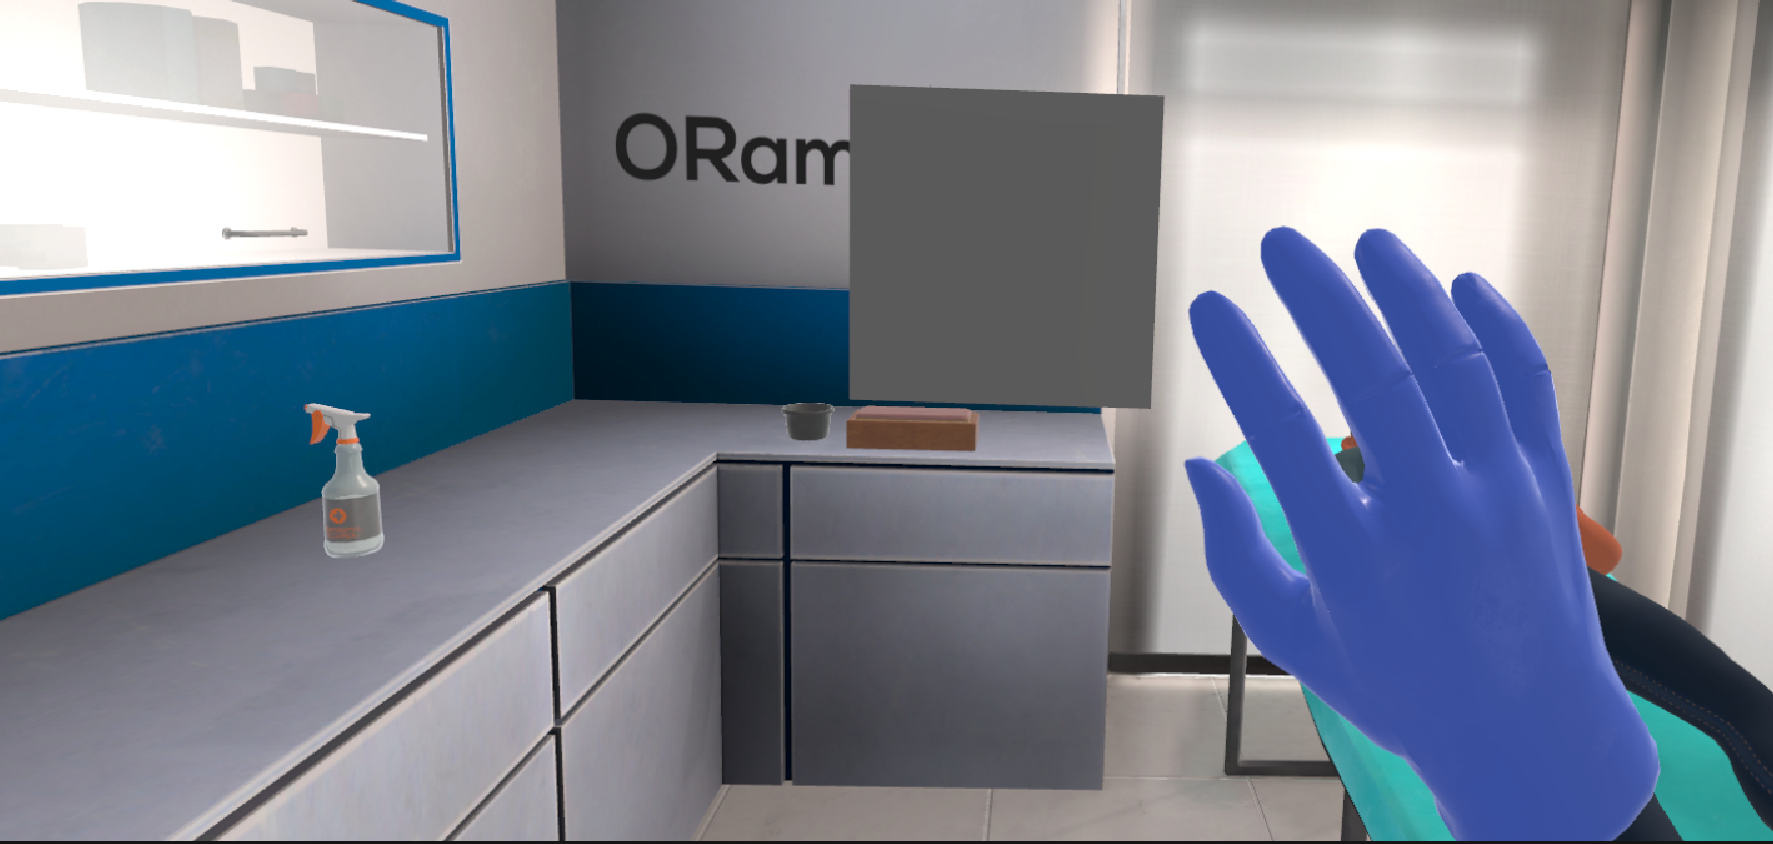
Now Player A can see Player B as a sphere (CustomAvatarSphere) and Player B can see Player A as a cube (CustomAvatarCube).
Player A POV:
Player B POV:
Note
Player A is using Mobile3D and Player B is using XR.