Create a Tool Interactor
To create a new Tool Interactor, you can modify a Grabbable object to make it interact with others.
Firstly we need a Grabbable object. In our case we will use the scissors prefab.
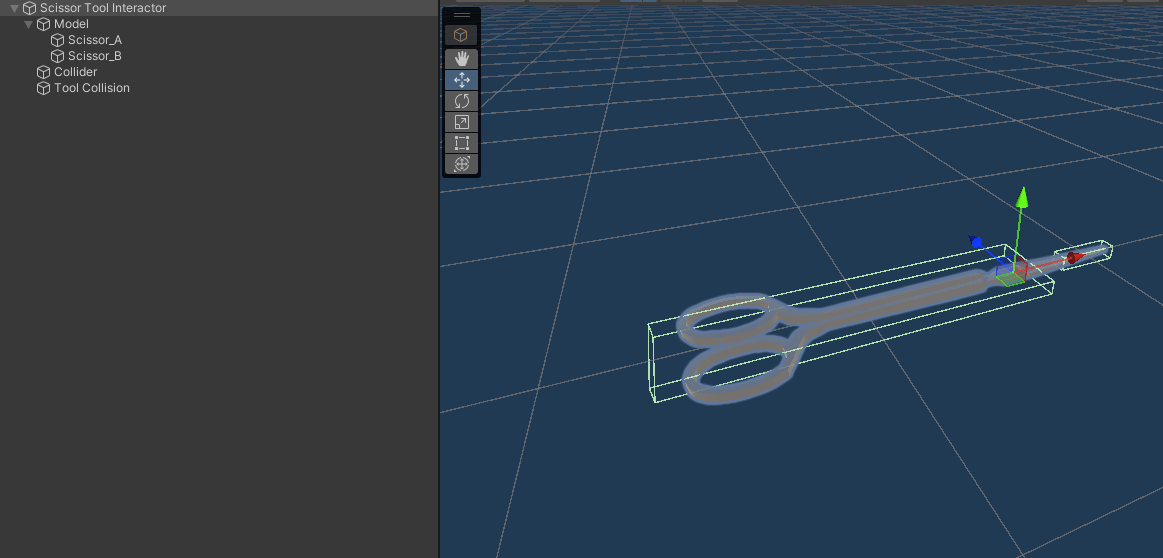
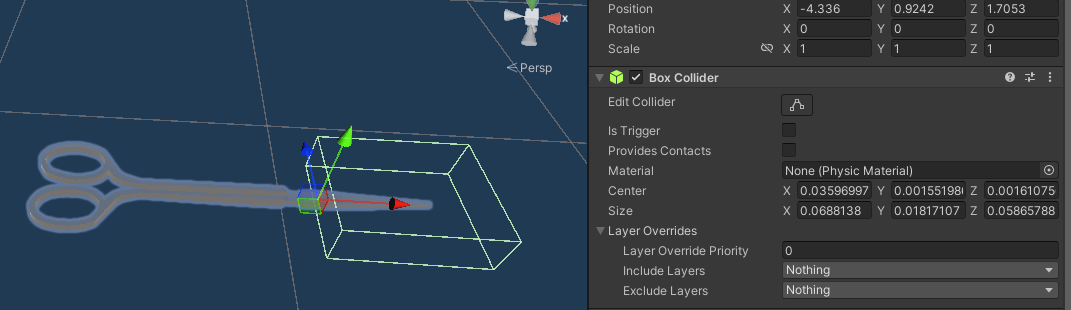
Next, add a trigger collider on the Grabbable, which will represent the area that the Tool Interactor will detect objects to select.
Then add the ToolInteractor component to the prefab.
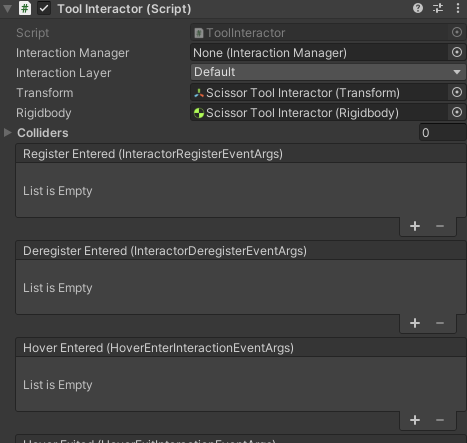
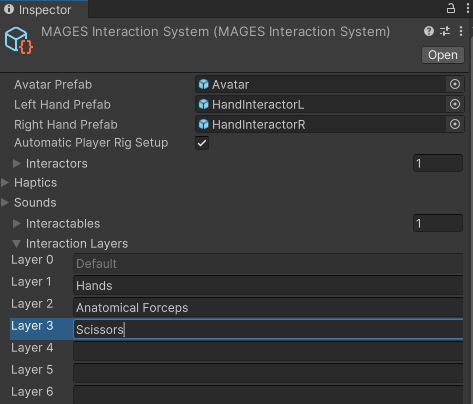
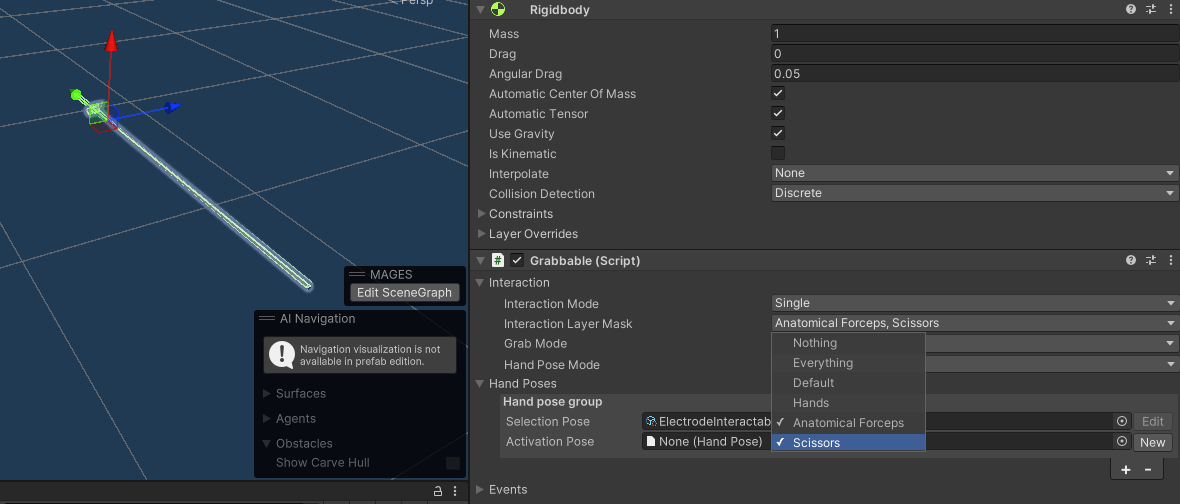
Create a new Interaction Layer field specific for the scissors by clicking on the Interaction Layer field of the ToolIntearctor, then select Add Layer and inside the Interaction Layers of the Interaction System add a new Layer called “Scissors”. In this way you will ensure that specific objects can only be selected by the scissors Tool Interactor.
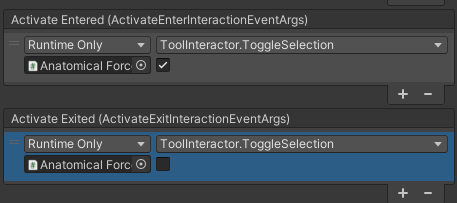
On the Activate Enter and Activate Exit UnityEvent of the Grabbable add a new Listener that calls the ToolInteractor.ToggleSelection function to toggle the selection on and off accordingly.
Now you may open the Grabbable prefabs that you want to have the ability to be selected by the scissors TollInteractor and add the scissors layer to the Interaction Layer Mask of the Grabbbable. In our case we will choose the ElectrodeInteractable prefab.
Now the scissors ToolInteractor can select the ElectrodeInteractable object by simply pressing the trigger button while holding the scissors.
Setup Poses for ToolInteractor
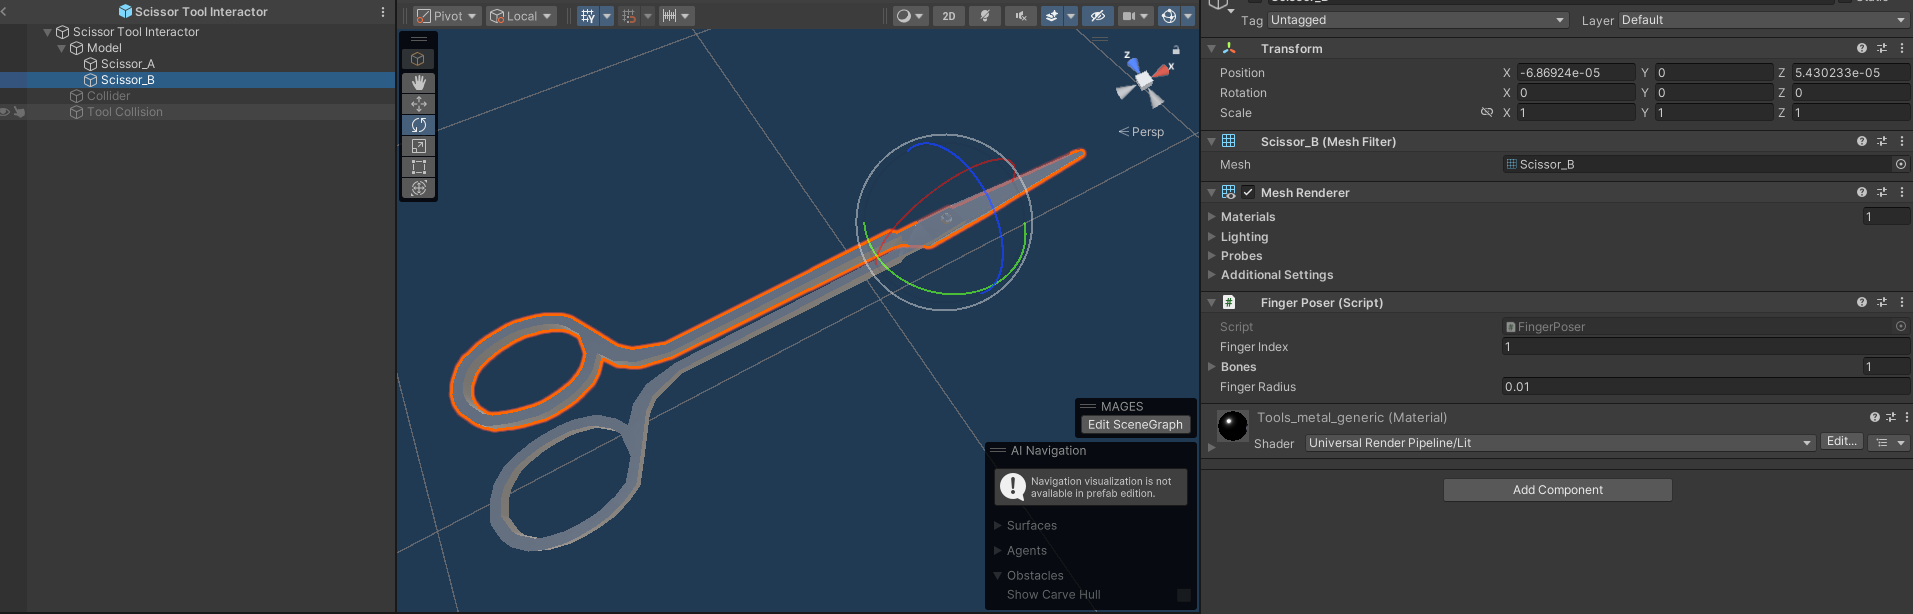
You can set custom poses for the ToolIntearactor to assume when pressing the Trigger button. To do that we firstly need to add FingerPosers to the joints of the tool.
Note
You need to assign a different Finger Index to each joint.
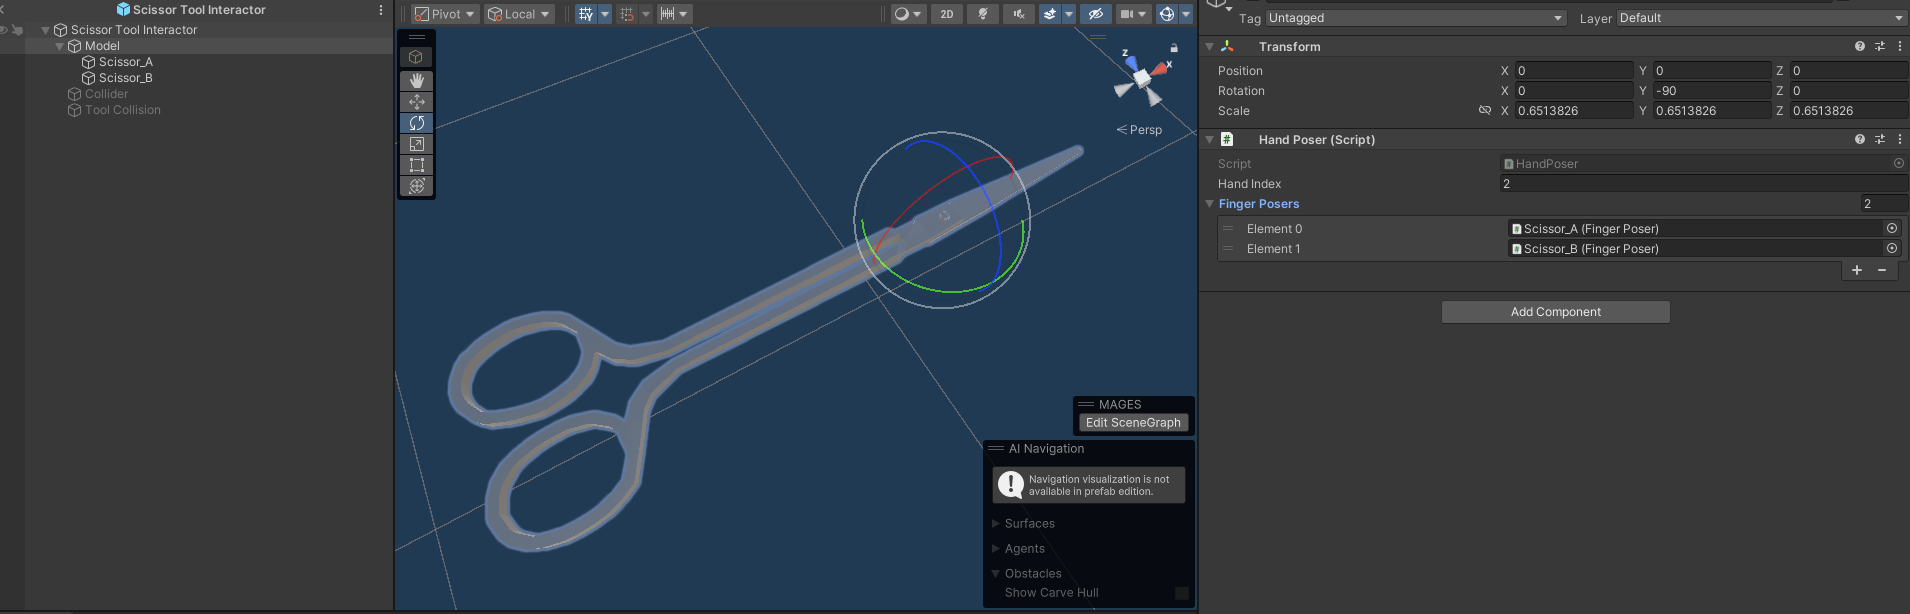
Then add a HandPoser on the root of all the tool joints. Then assign the HandPoser onto the Hand Poser field of the ToolInteractor.
Note
You need to assign a different Hand Index from the rest of the existing Interactors. Also in case the Finger Posers are not automatically assigned you might need to add them manually to the Hand Poser.
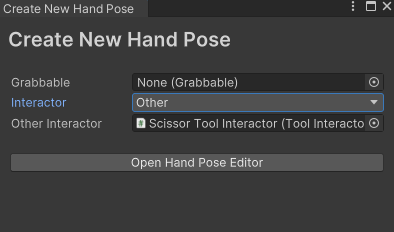
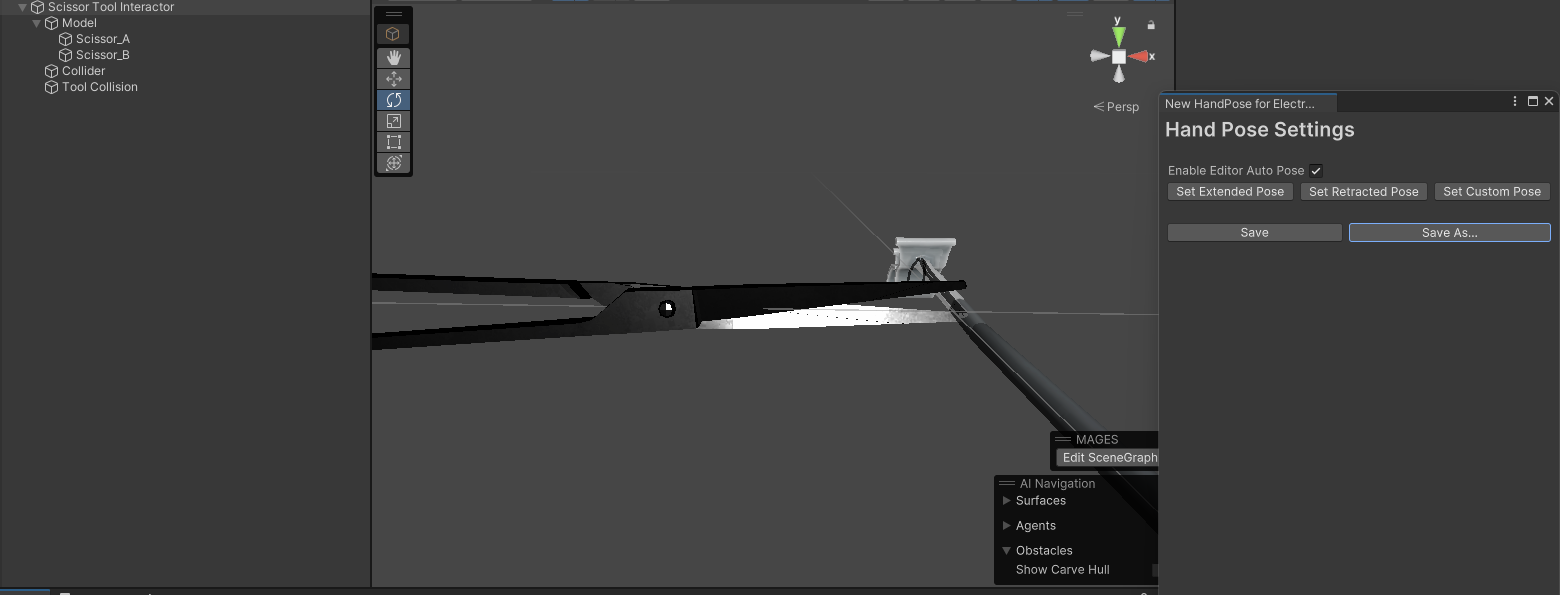
Now we can start creating poses for the ToolInteractor. Open the HandPose Editor through MAGES > Interaction > HandPose Editor. On the editor window that will pop up select Other as Interactor and drag the ToolInteractor that you have created into the Other Interactor field. Then click on the Open Hand Pose Editor button.
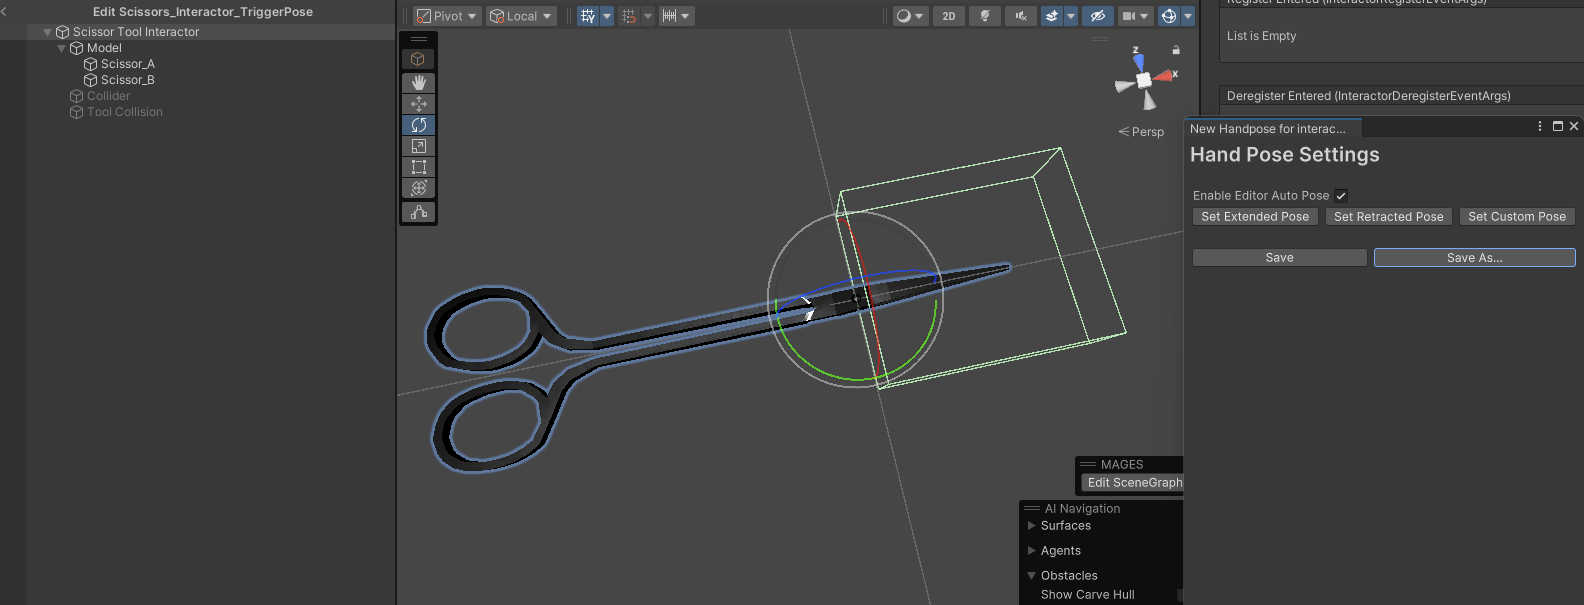
We need to create 2 different poses: an idle and a trigger pose. In our case the trigger pose will be a pose where the scissors are closed. Recreate that pose and save the pose through the Hand Pose Settings window.
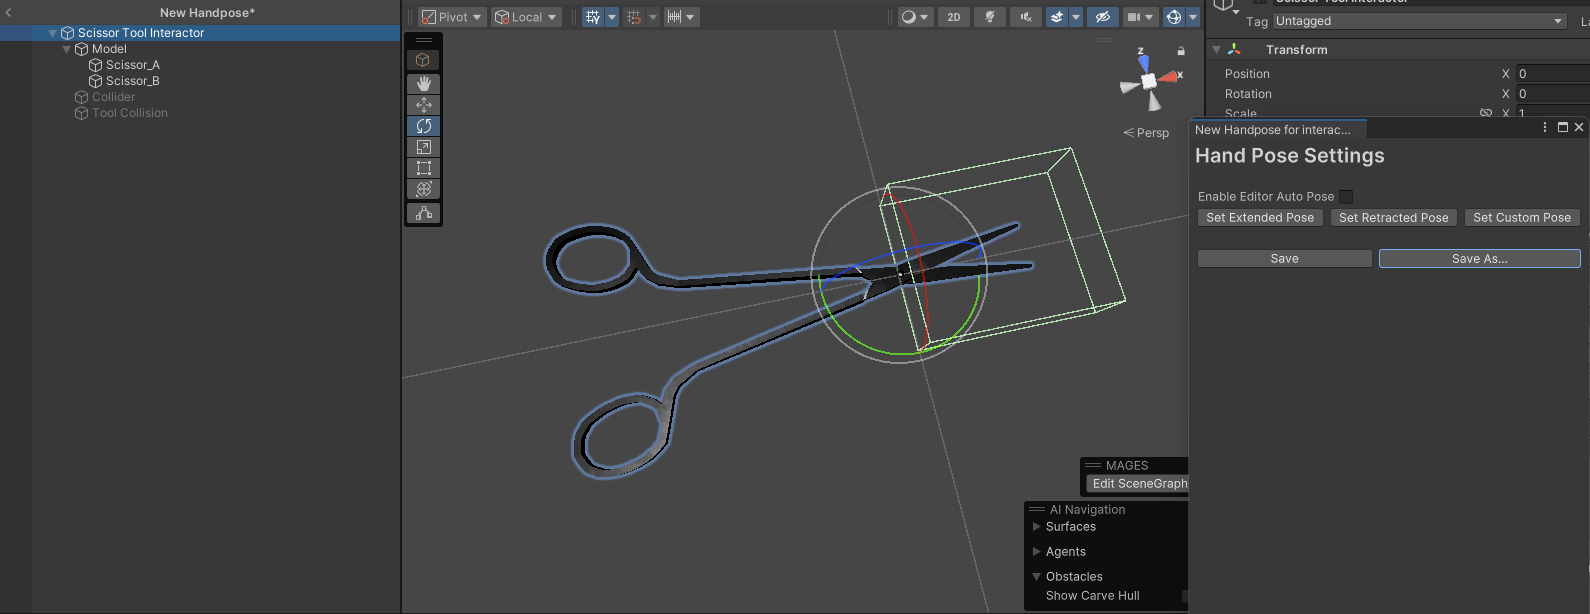
Then you can recreate the idle pose where the scissors are open and save it.
Assign the trigger and idle poses onto the Idle Pose and Trigger Pose fields of the ToolInteractor.
Now the scissors open and close according to their activation intensity.
Setup Poses between ToolInteractor and Grabbables
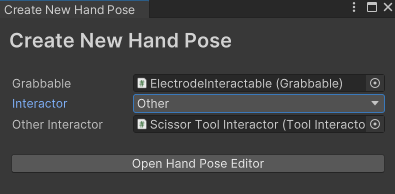
It is also possible to setup custom selection poses for Grabbables using the Hand Pose Editor. Open the Hand Pose Editor window once again and this time enter a Grabbable to the Grabbable field as well. In our case we will create a pose between the scissors and the electrode.
Create a pose between the scissors and the electrode, then save the HandPose.
Lastly add a new HandPose group on the Hand Poses field of the Grabbable (in our case the ElectrodeInteractable). Assign the newly created pose on the Selection Pose field.
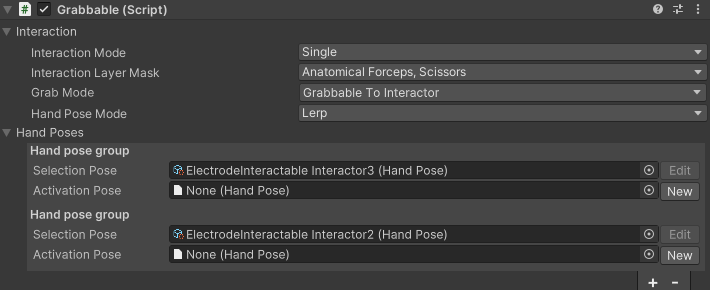
Now when you select the Electrode using the Scissors, the Scissors assume the same pose as the one you created.