Reading User Input
Creator utilizes Unity’s new Input System for input handling. This workflow of reading input requires the user to create InputActions and bind specific device buttons to each action. In this tutorial we will guide you through the process of reading user input in your Creator project, but refer to Unity’s documentation for more information.
Create a new Input Actions Asset (Ignore if using existing Input Actions Asset):
Right-click in the Project window and select Create > Input Actions.

Create a new Input Action Map (Ignore if using existing Input Action Map):
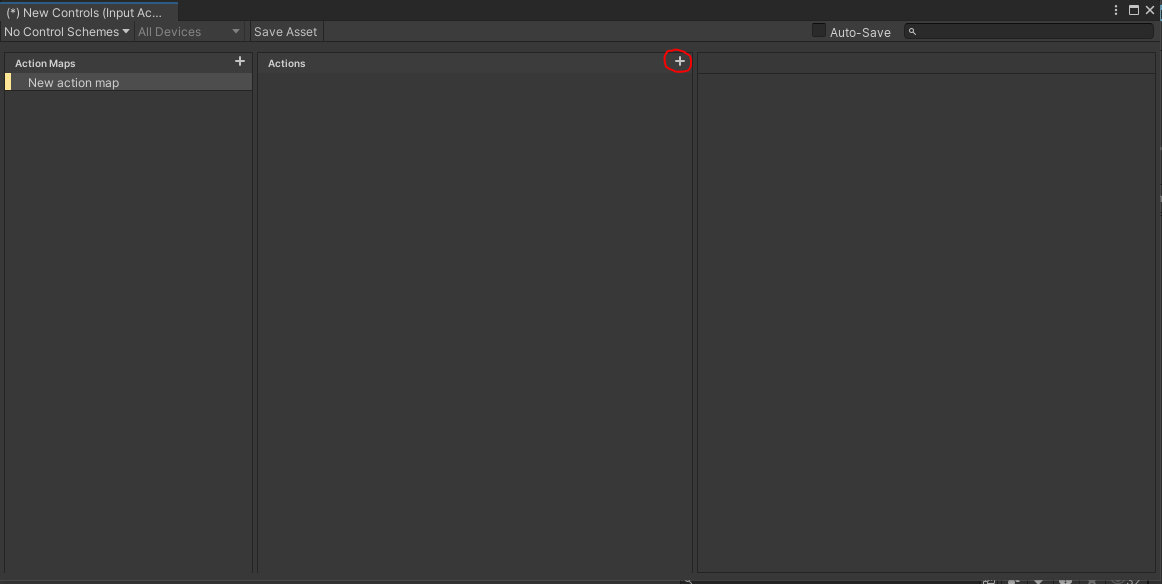
Double click the Input Actions Asset previously created or an existing Input Actions Asset to open the Input Actions window.
Click on the + button in the Action Maps section to create a new Action Map or use an existing Action Map by clicking on it.

Create a new Input Action:
Select the Action Map in which the new Action will be created by clicking on it under the Action Maps list.
Click on the + button in the Actions section to create a new Action(ignore if editing an existing action).
This will create a new Action in the selected Action Map.
Name the new Action accordingly.
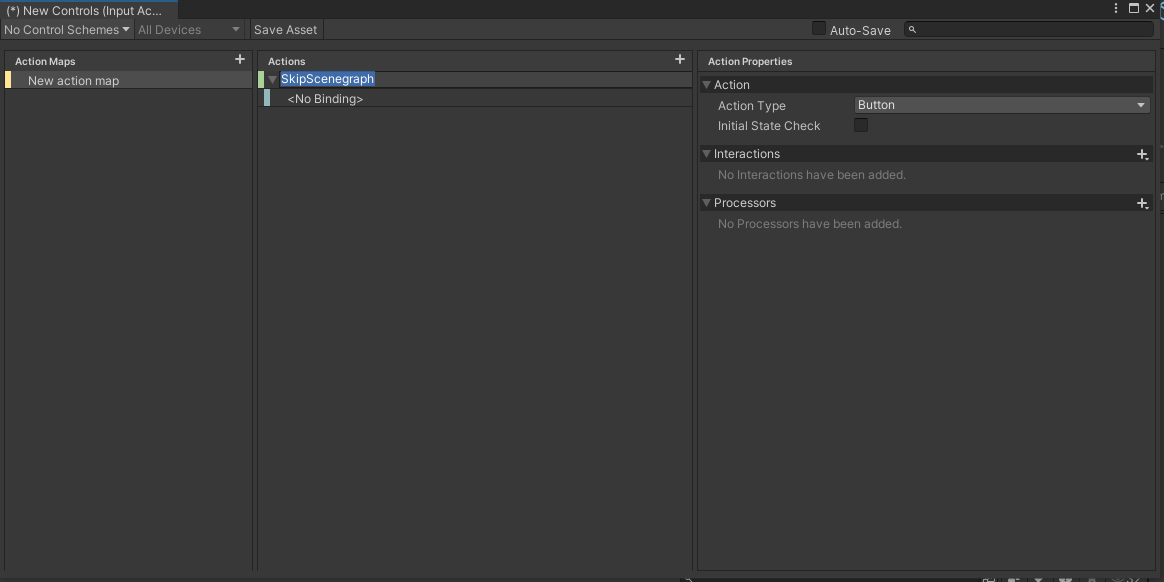
In our case we will create a new Input Action for forcefully skipping the current scenegraph action.
Bind Keys to the Input Action
Click the drop down icon next to the Input Action, in which a key will be bound, to reveal its bindings.

Select the bindings by clicking on them. This will reveal the binding properties on the right side of the window.

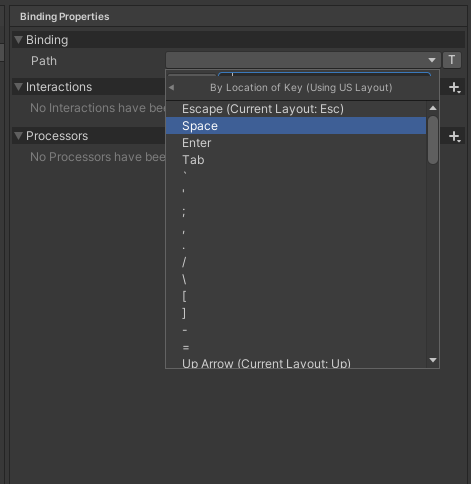
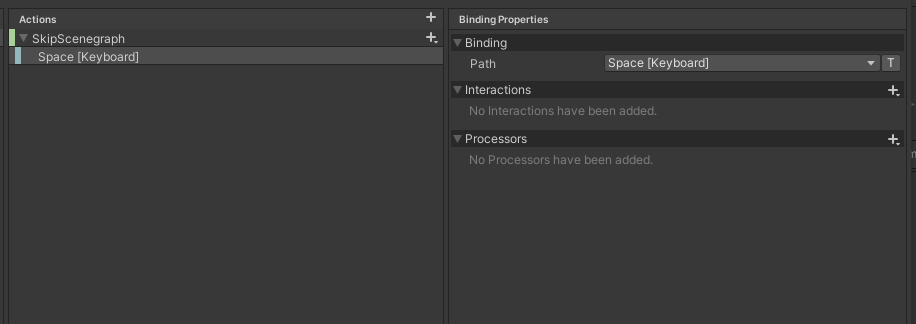
Click on the Path dropdown and navigate to the desired device and key. In our case we will use the Keyboard device and bind the Space key to the new Input Action.
Key binding is now complete
Read User Input in your Script
Create a new script which will enable the InputAction and attach callbacks to it.
Add the following code snippet to read the input action created in the previous steps.
using MAGES;
using UnityEngine;
using UnityEngine.InputSystem;

public class SkipScenegraph : MonoBehaviour
{
    public InputActionReference actionRef;

    private void Awake()
    {
        actionRef.action.performed += ctx =>
        {
            // Skip the scnegraph or do anything else you want here.
            Hub.Instance.Get<SceneGraphModule>().Skip();
        };
    }

    private void OnEnable()
    {
        actionRef.action.Enable();
    }

    private void OnDisable()
    {
        actionRef.action.Disable();
    }
}
Attach the script to any gameobject in the scene, and drag and drop the InputAction from the Input Actions Asset.

The setup is now complete. To test the action, launch the game and press the button bound to it (in our case space) to perform the action in the script.