Remove Action
A Remove Action defines the behavior of grabbing an object and removing it from its position.
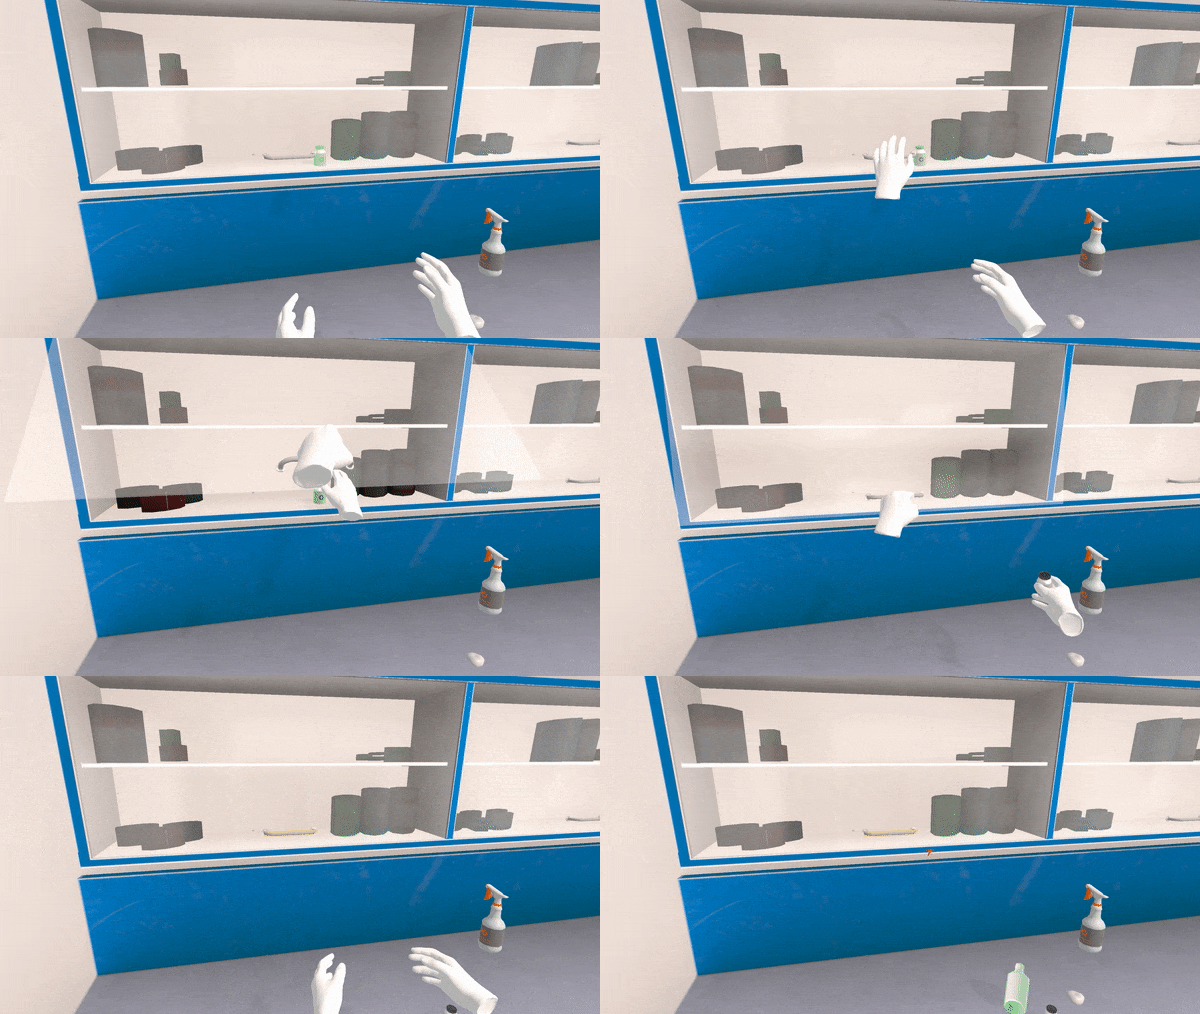
How to Setup a Remove Action
In this tutorial we will make a Remove Action to remove a pills bottle from the shelf.
Right-click on the Scenegraph editor.
Select
New Action > Remove Action.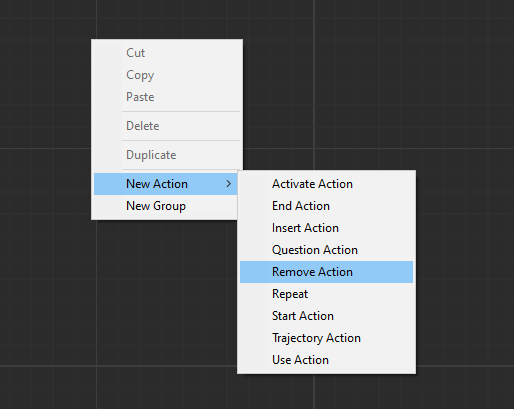
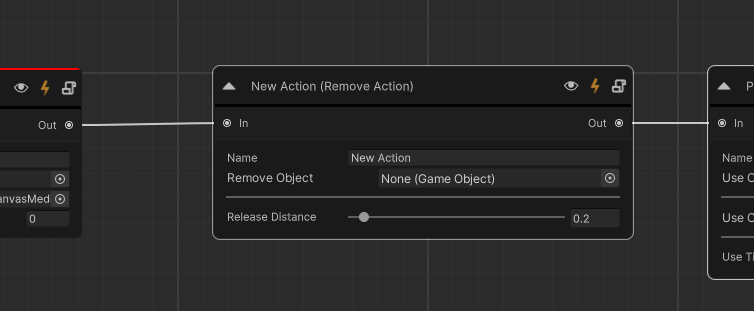
The Remove Action node will appear. Link it with the rest of the nodes.
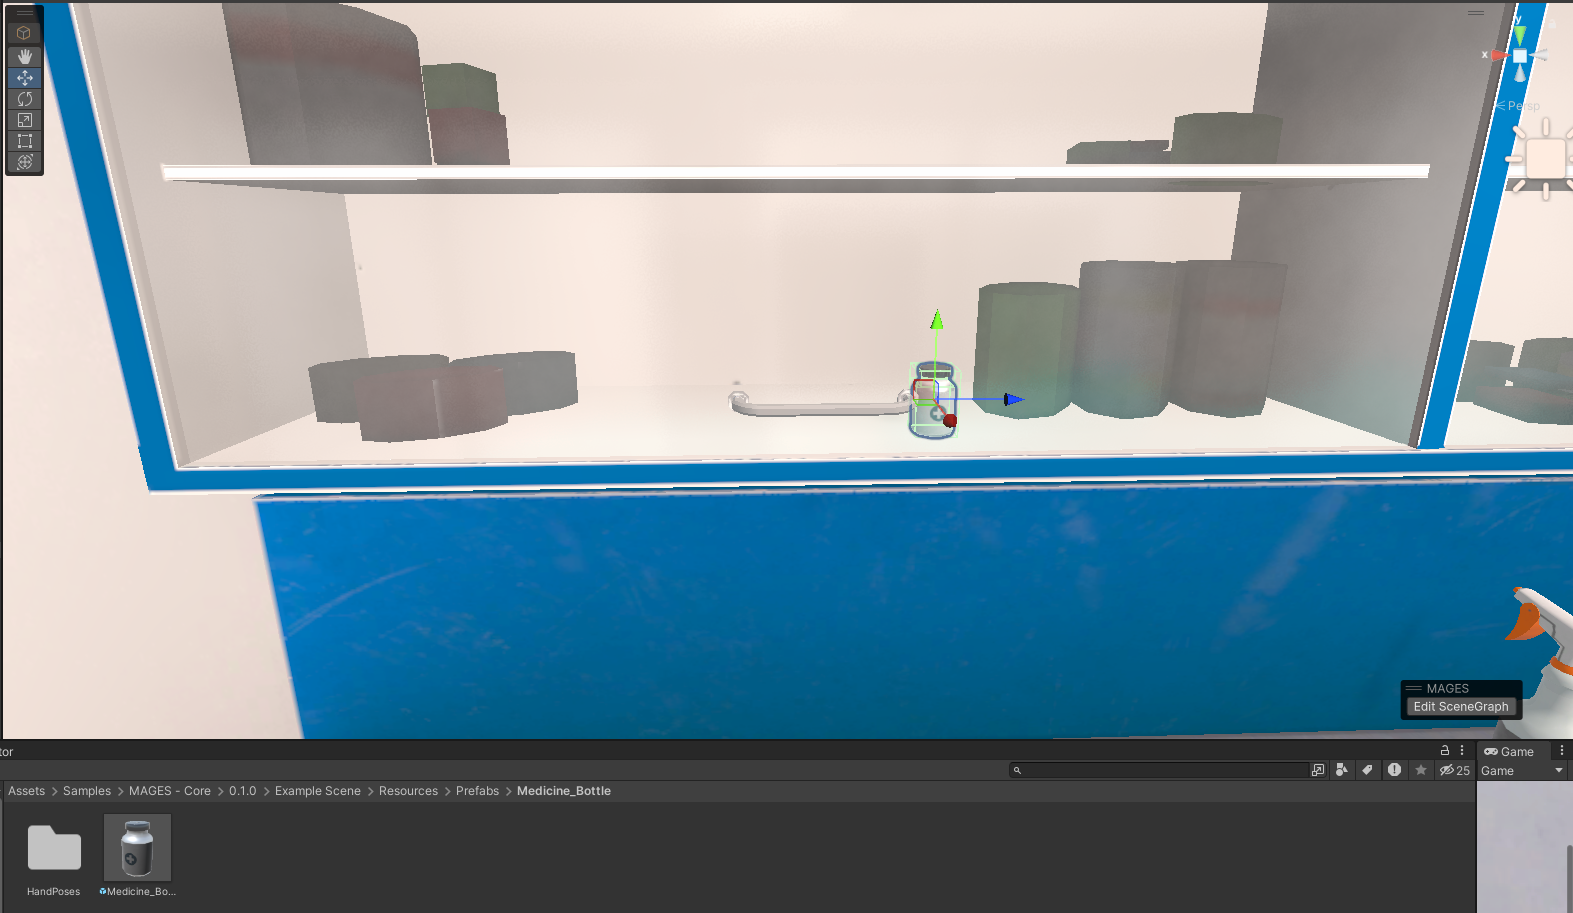
Create the Remove object. This is the interactable object that we will remove to complete the Action. This object will spawn when the Action initializes. In our case we will use a pills bottle. We place it on the shelf.
Note
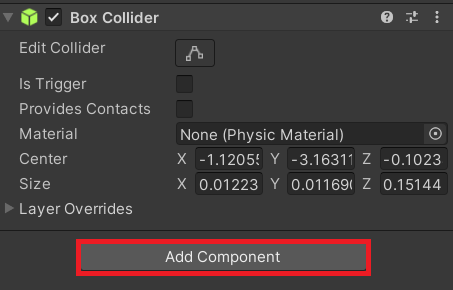
It’s important to add physical colliders to the object. The colliders refer to the Collider Component that you can add to your object by clicking the Add Component button in the inspector of your prefab or GameObject. It’s crucial to use the appropriate colliders and adjust them to match your GameObject’s shape.
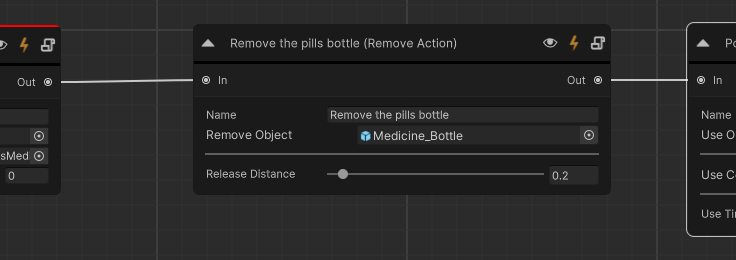
Save the Remove Object as a prefab to your assets and drag it to the Remove Object field in the Action node.
Note
To save the Remove Object as a prefab, drag the object from the Scene Hierarchy in your Unity Editor and place it inside your Assets. It is strongly advised to place your prefabs under a Resources folder. For example, in our case: Assets > Samples > MAGES - Core > 1.0.0 > Example Scene > Resources > Prefabs > MedicineBottle.
Name the Action, e.g., “Remove the pills bottle”.
See also
The Axis to lock dropdown to restrict the object motion in a single axis. This is mostly used for objects that are pulled out from bottles or other examples that are restricted in an axis.
The Distance to Unlock parameter sets the distance that you need to pull the object to release it from the axis lock.
Remove any prefabs you created from the scene and save the Scenegraph.
How to Perform
The Action performs when the user takes the pills bottle out of the shelf and releases it.