Activate Action
In an Activate Action the user needs to take an object, usually a tool/instrument that can be activated, and press the trigger button on his controller while holding it. An example can be the activation of a remote control or the pumping of a syringe.
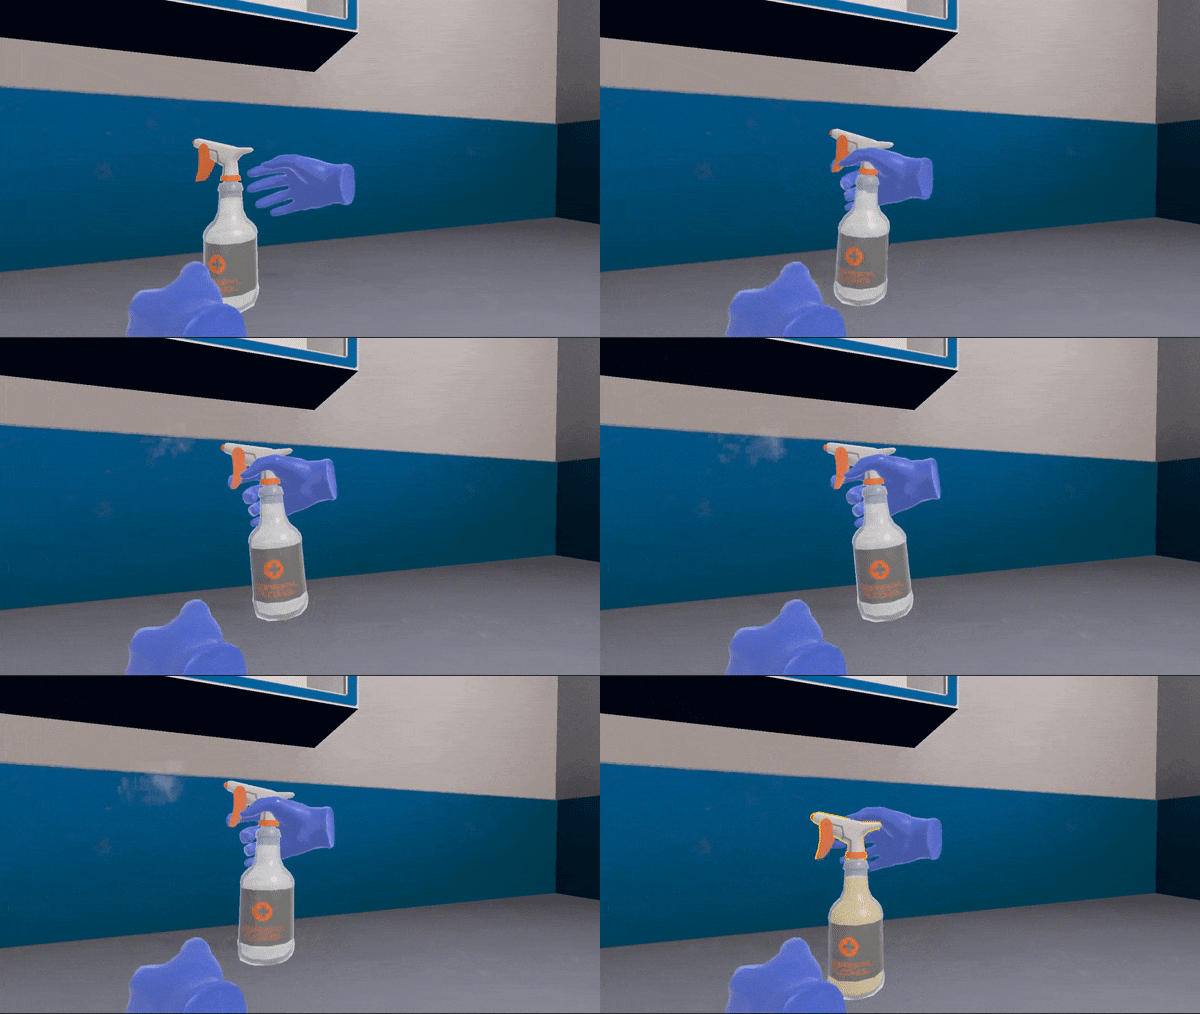
How to Setup an Activate Action
In this tutorial we will create an Activate Action where the user needs to take a spray bottle and press the trigger of the bottle 3 times.
Right-click on the Scenegraph editor.
Select
New Action > Activate Action.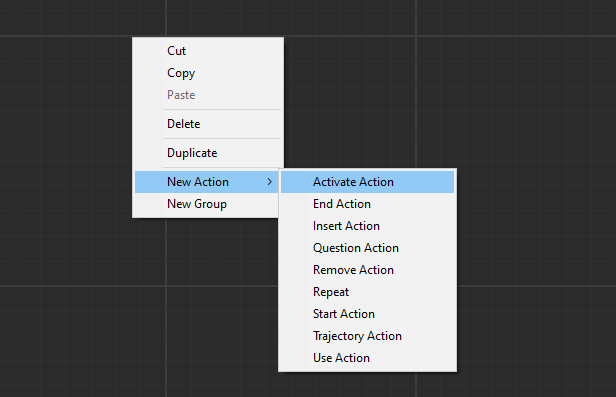
The Activate Action node will appear. Link it with the rest of the nodes. After you do so make sure to click the arrow on the top left to expand the Action.

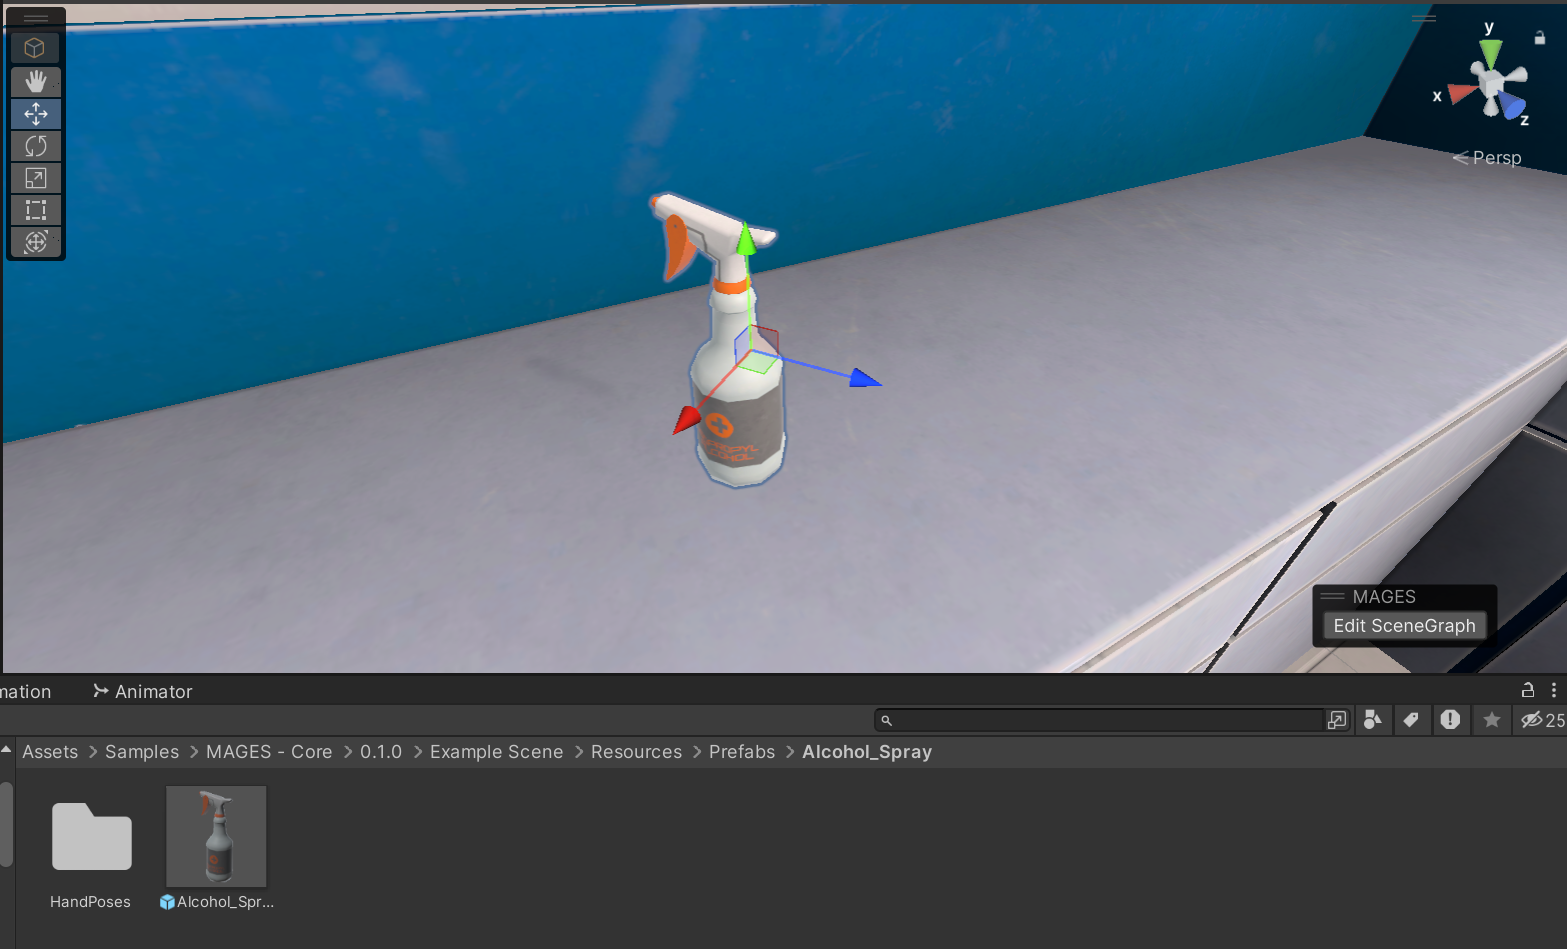
Create the Activate Object. This is the spray bottle that we will take and activate in order to perform the Action. This object will spawn when the Action initializes.
Note
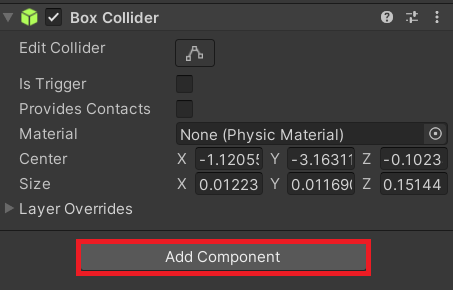
It’s important to add physical colliders to the object. The colliders refer to the Collider Component that you can add to your object by clicking the Add Component button in the inspector of your prefab or GameObject. It’s crucial to use the appropriate colliders and adjust them to match your GameObject’s shape.
This step is optional, but it makes sense for the Activate Object to play an animation when it triggers. We will create a simple particle animation along with a movement of the spray lever when we press it with our finger.
The result is the following:
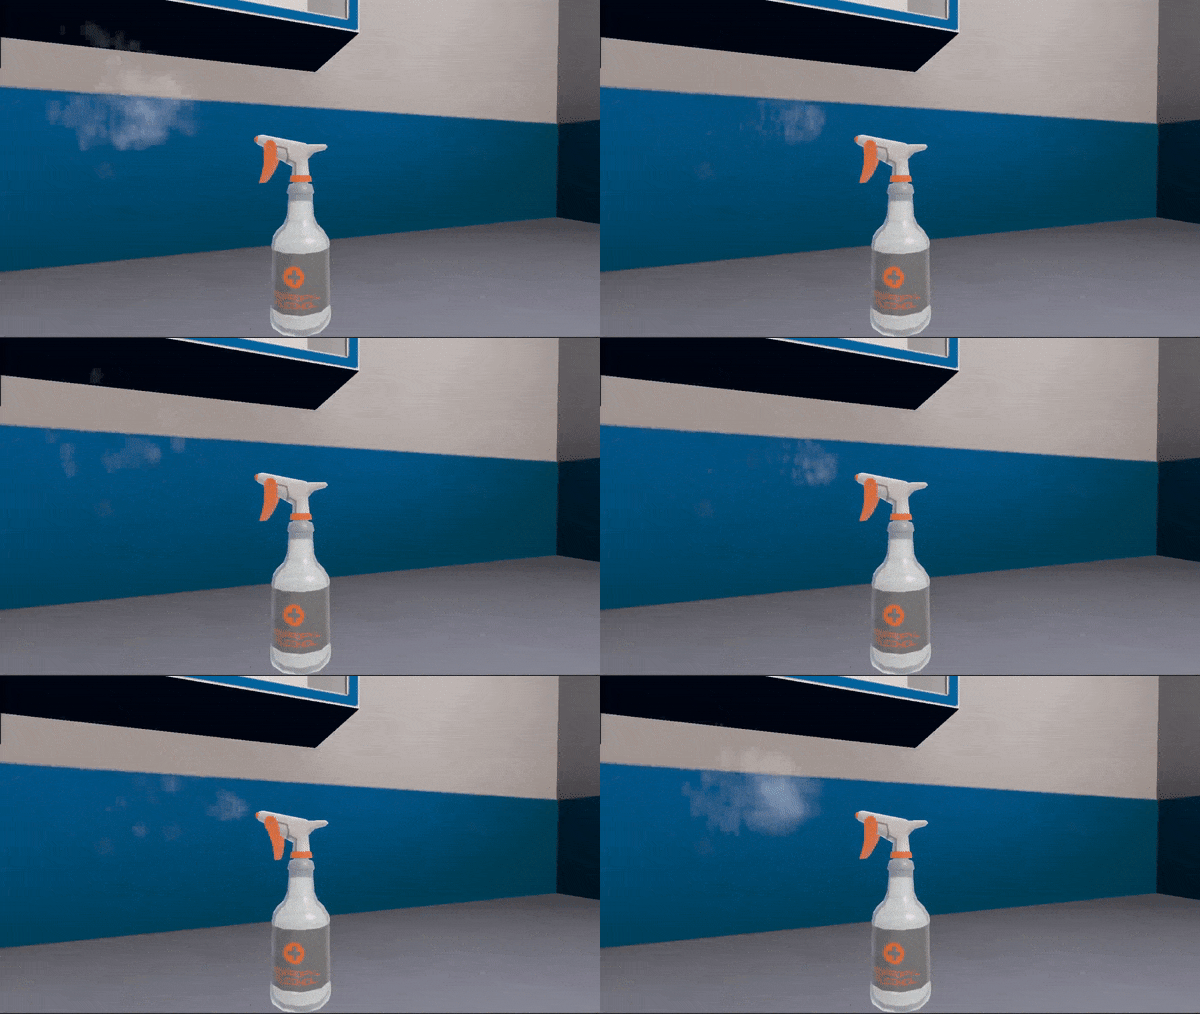
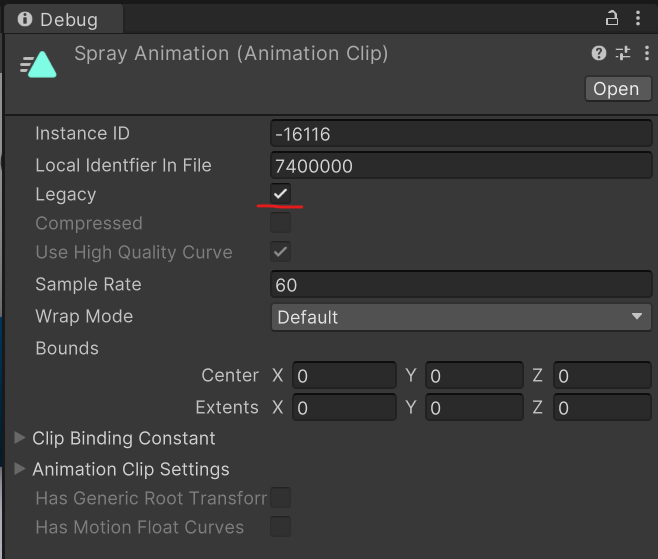
Now we need to make a modification to the animation we created. Select the animation clip and on the inspector switch to debug mode and set the animation as Legacy.
Then delete the animator from the Activate Object, we don’t need it. Also make sure that the animation is not in Loop mode.
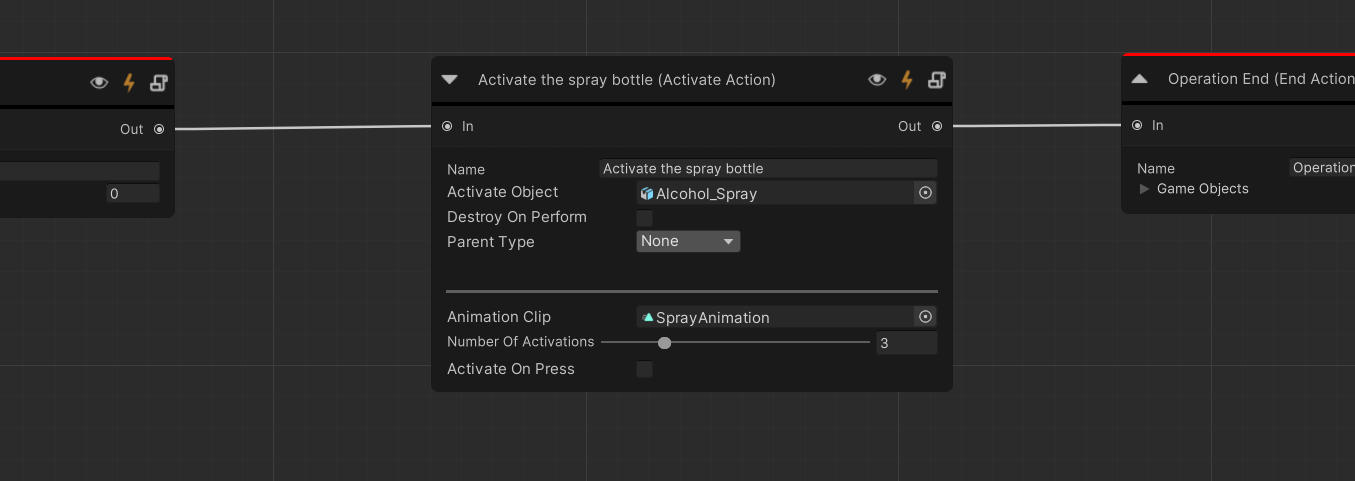
Drag and drop the animation clip you created to the Action node.

Set the Number of Activations number. In our case we will set it to 3 since we want to perform the Action after 3 activations.

Save the Activate Object as a prefab to your assets. Drag and drop it to the Activate Object field in the Action node.
Note
To save the Activate Object as a prefab, drag the object from the Scene Hierarchy in your Unity Editor and place it inside your Assets. It is strongly advised to place your prefabs under a Resources folder. For example, in our case:
Assets > Samples > MAGES - Core > 1.0.0 > Example Scene > Resources > Prefabs > AlcoholSpray.Name the action, e.g., “Activate the spray bottle”.
See also
The Activate on Press configuration, will perform the Action when the trigger button is pressed but not released. If you set it to false (default) the action waits to release the trigger in order to register the activation.
Remove any prefabs you created from the scene and save the Scenegraph.
How to Perform
The Action performs when the user takes the spray bottle and presses the trigger button 3 times.