Insert Action
An Insert Action defines the behavior of taking an object and placing it in the proper position paying respect to its orientation. An example can be the insertion of the oxygen tank to the mask valve.
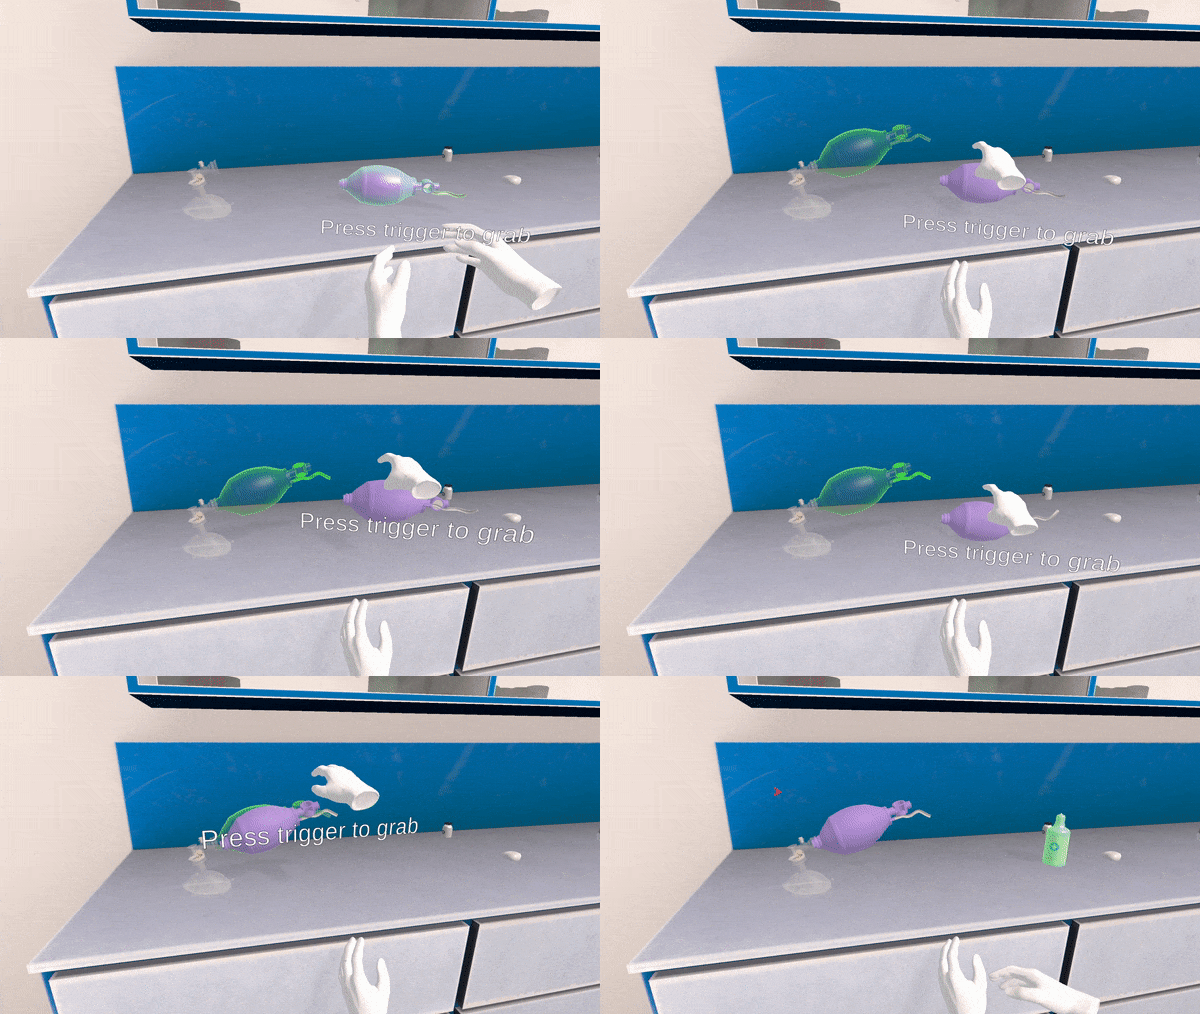
How to Setup an Insert Action
In this tutorial we will make an insert action to assemble a valve mask and insert the balloon part of the mask to its proper place.
Right-click on the scenegraph editor.
Select
New Action > Insert Action.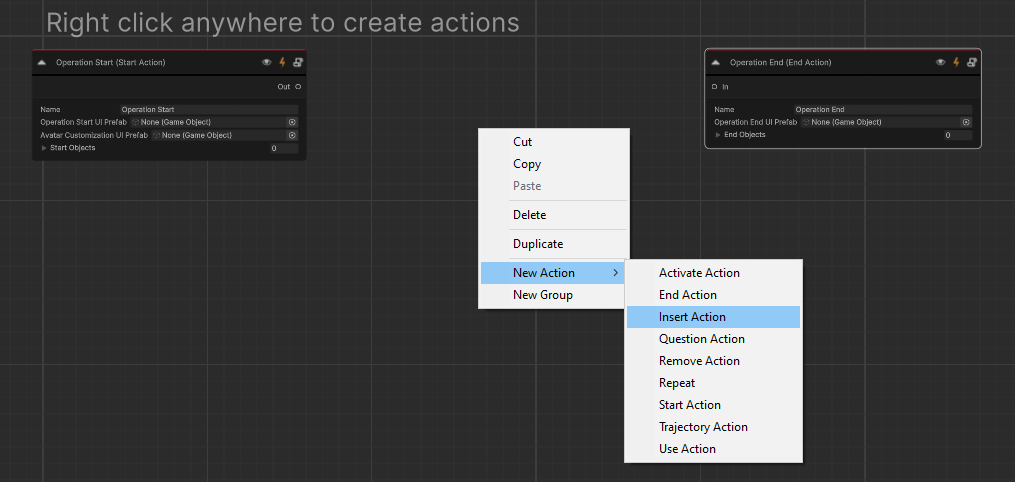
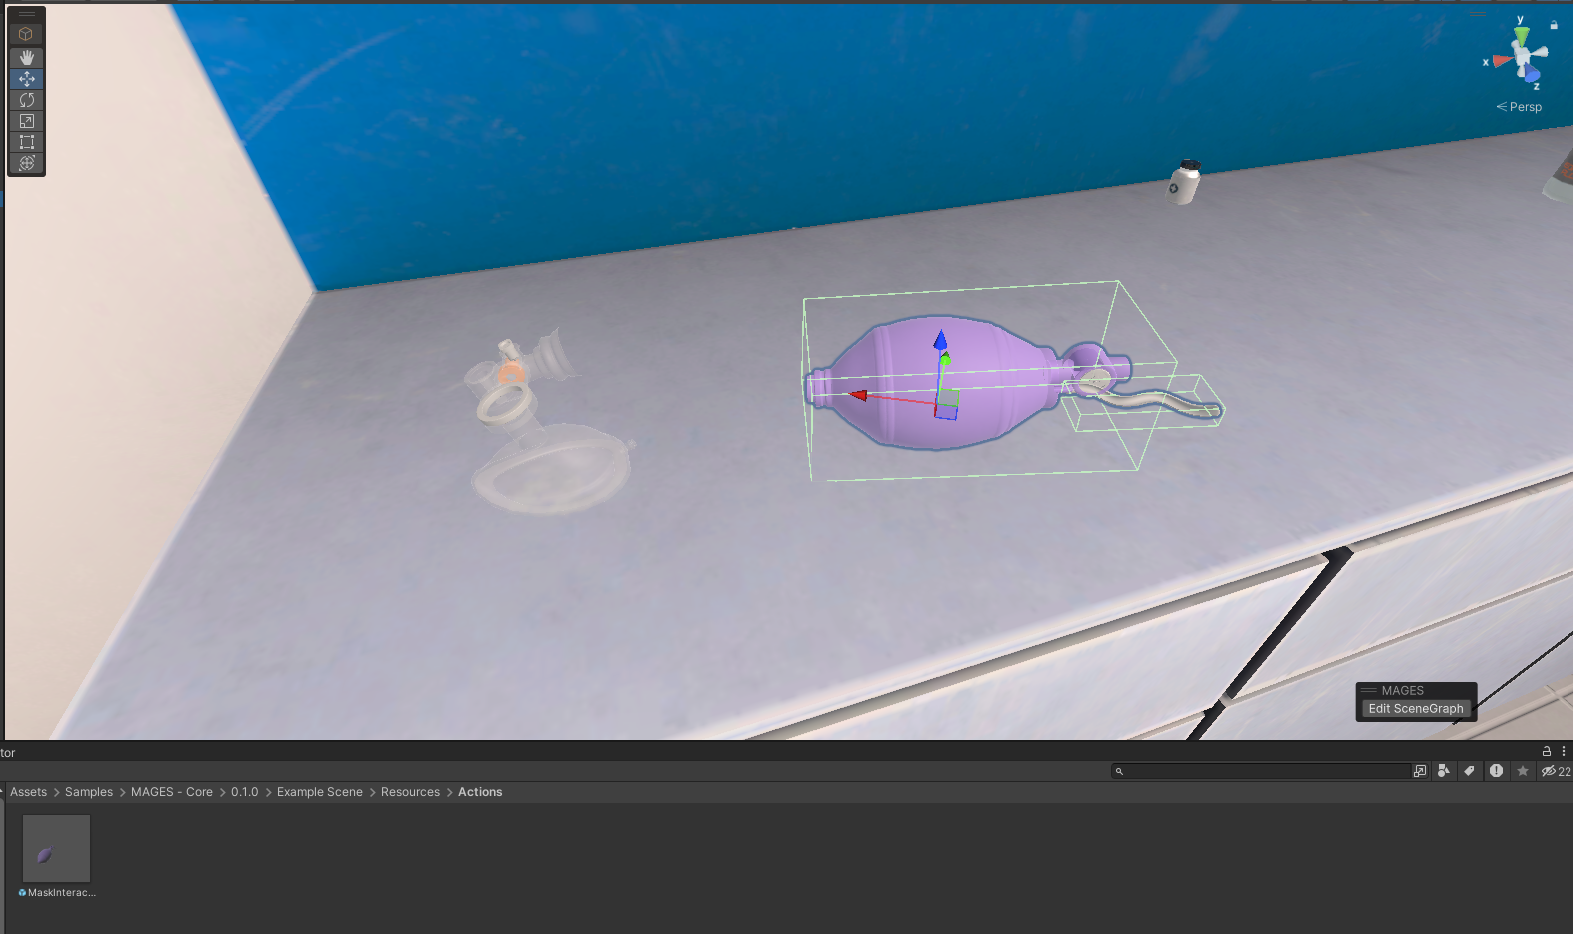
Create the Insert Object. This is the interactable object that we will take with our hands and place it in the proper position. This object will spawn when the Action initializes.
Note
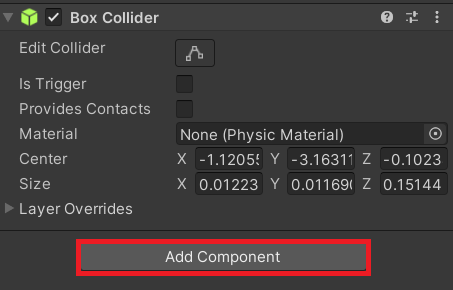
It’s important to add physical colliders to the object. The colliders refer to the Collider Component that you can add to your object by clicking the Add Component button in the inspector of your prefab or GameObject. It’s crucial to use the appropriate colliders and adjust them to match your GameObject’s shape. In our example, two box colliders are used to capture the oxygen tank’s shape.
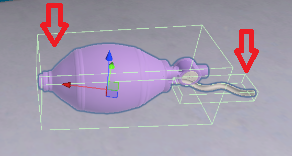
Save the Insert Object as a prefab to your assets and drag it to the Insert Object field in the Action node.
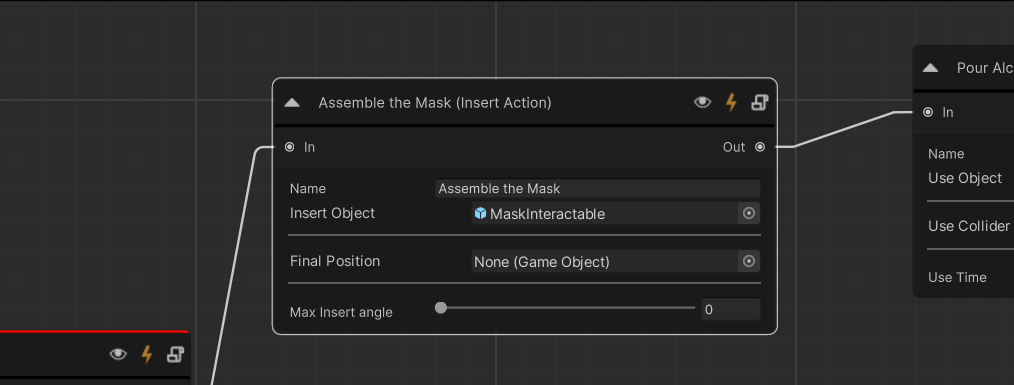
Note
To save the Insert Object as a prefab, drag the object from the Scene Hierarchy in your Unity Editor and place it inside your Assets. It is strongly advised to place your prefabs under a Resources folder. For example, in our case: Assets > Samples > MAGES - Core > 1.0.0 > Example Scene > Resources > MaskInteractable.
Now it is time to setup its final position. Drop the interactable object in the scene again and place it to the position that it supposed to be. This is the final position.
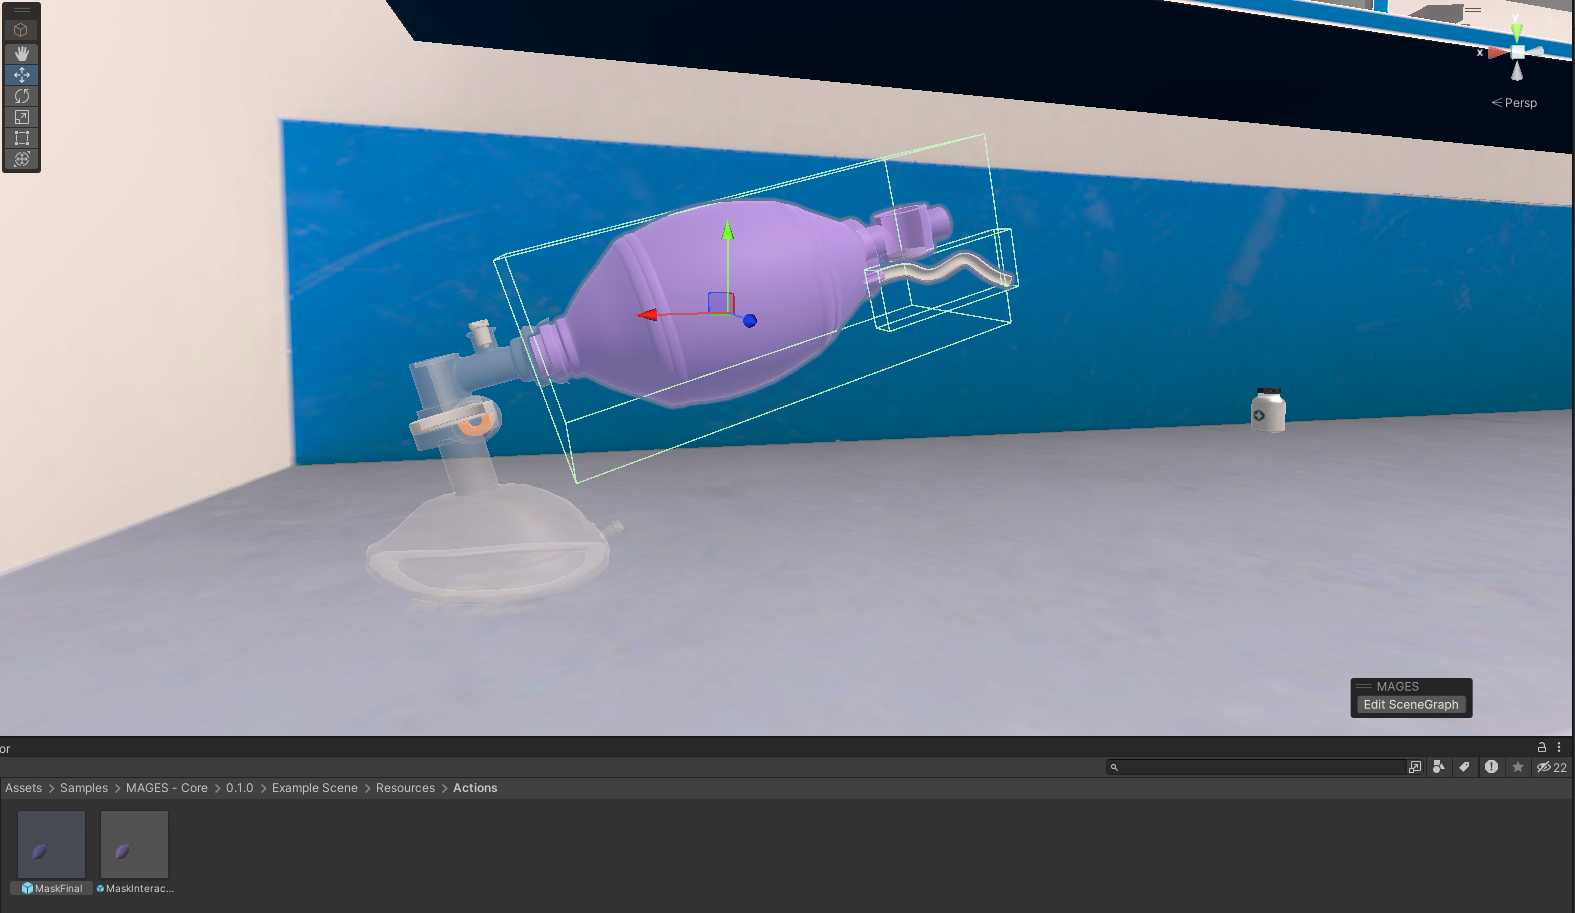
Warning
During play mode, all the physical colliders of the object will be transformed into trigger colliders.
Save the final object as a prefab to your assets. Drag and drop it to the Final Position field in the Action node.
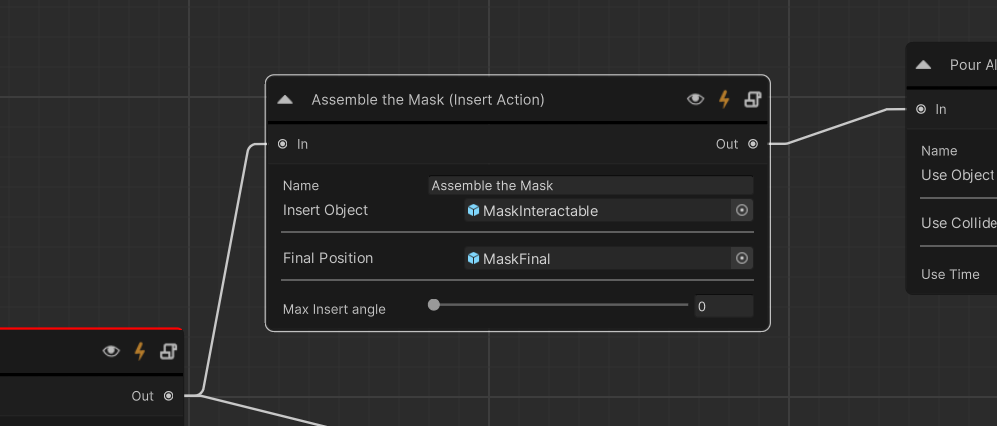
Note
Save the final object as a prefab by following the same procedure as the Insert Object.
Name the action, e.g., “Assemble the Mask”.
See also
You can set the Max insert angle parameter to restrict the insertion of your object. This value indicates that the Action will accept the insertion only when the interactable object has angle difference less than the given value. If the value is set to zero, the insertion is performed automatically when the interactable object triggers with the final position colliders.
Remove any prefabs you created from the scene and save the scenegraph.
How to Perform
The Action performs when the user takes the mask and inserts it to the final position.